
I have this old Mongoose mountain bike that I've had sitting in my parents shed for years. I'm trying to take out the bottom bracket but I cant figure out what tools I need or how to do it. I've heard people just use a hammer and flathead for the nondrive side and adjustable wrench for the drive side but neithers working for me. I'd really appreciate any advice please.
by rigrug3
8 Comments
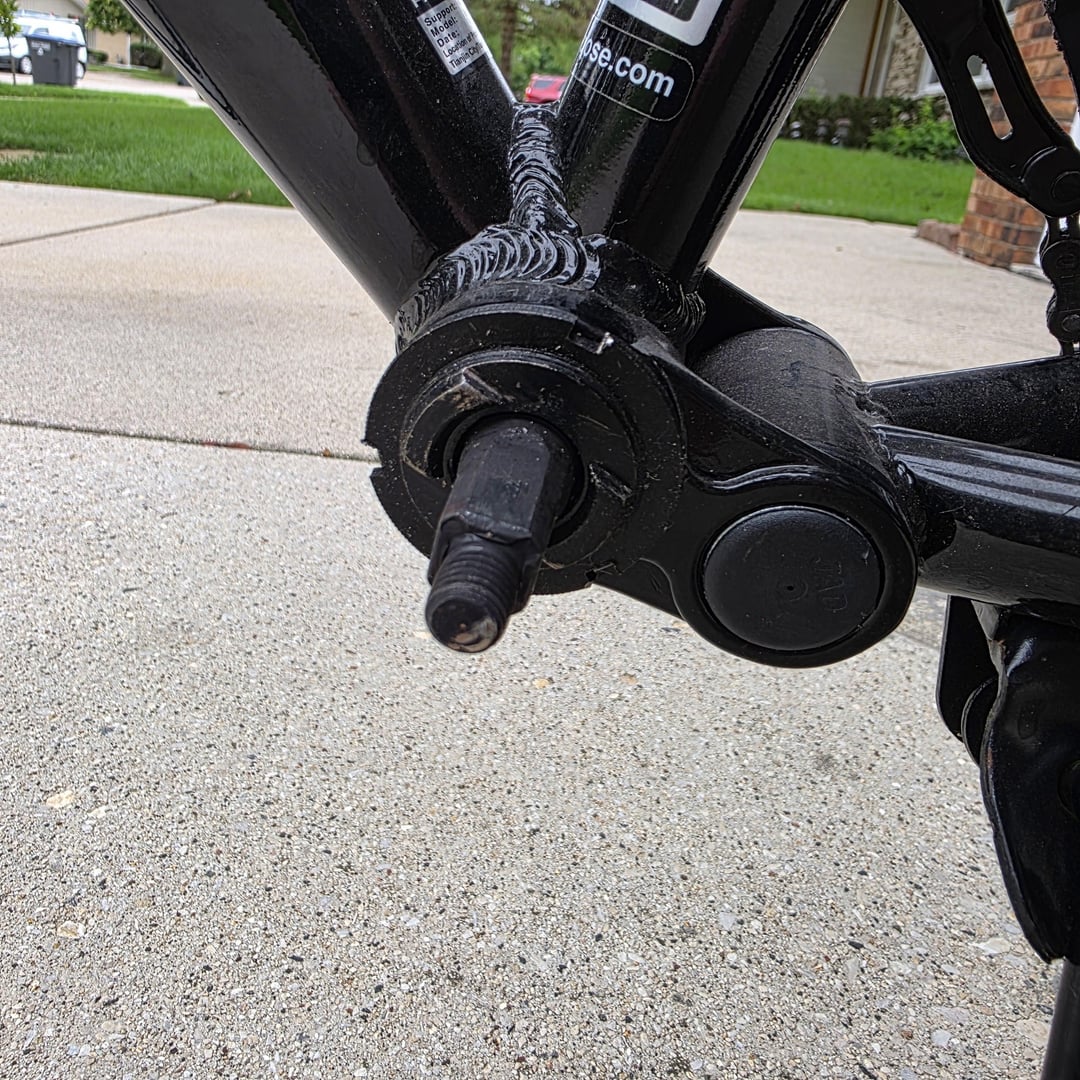
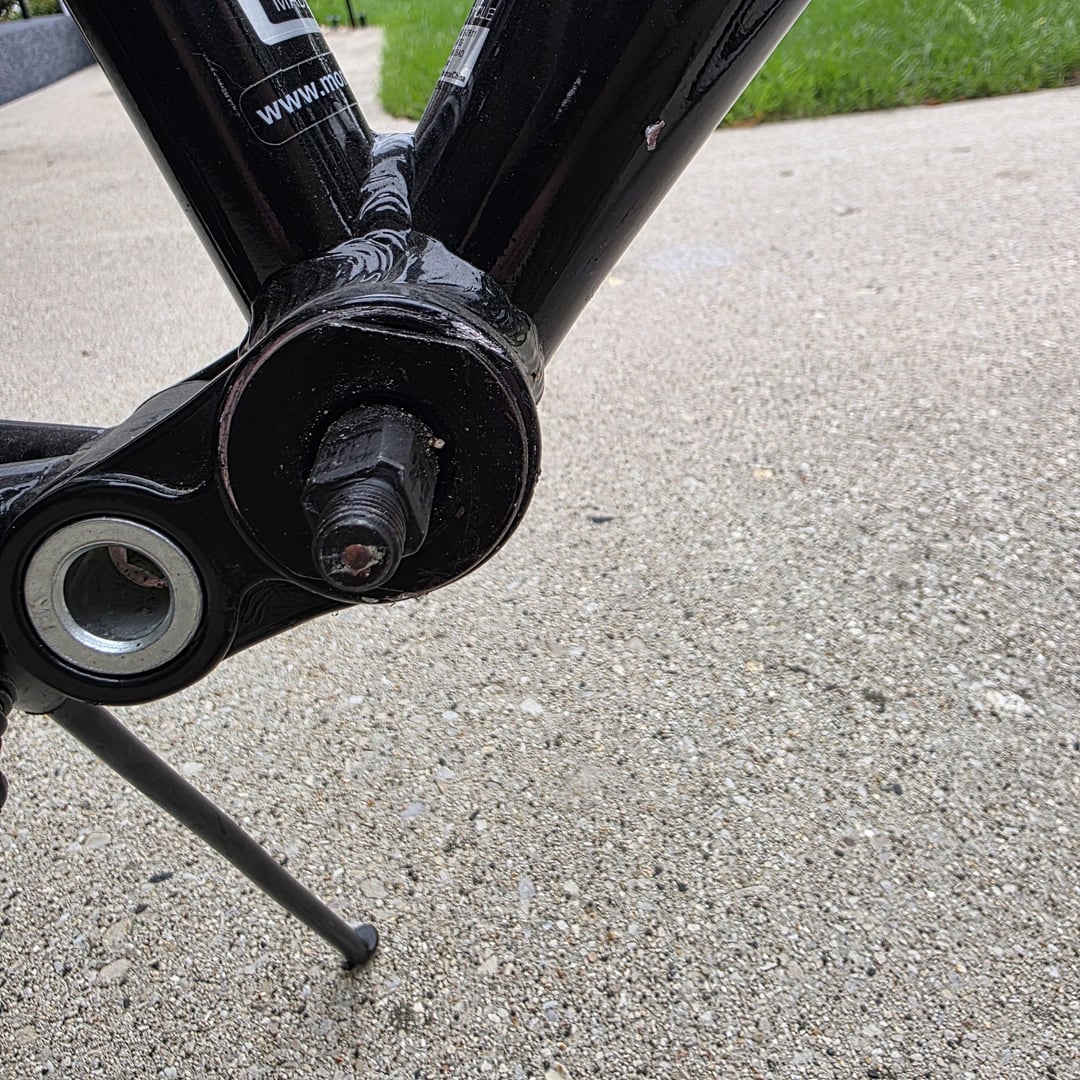
Image one: use vise grips on the larger inner circle (with the indented tabs on it) and loosen. Image 2: use an adjustable wrench, but it’s reverse threaded.
[deleted]
**Your bottom bracket should be English/BSA so just be sure you look up which side threads which way so you don’t tightening when you’re trying to loosen.
On the non-drive (left) side of the bike, loosen the large outer ring first. The “correct” tool [looks like this](https://www.parktool.com/en-us/product/crank-and-bottom-bracket-wrench-hcw-5). And then the inner part comes out with a different wrench – the ‘correct’ tool [looks like this](https://www.parktool.com/en-us/product/adjustable-cup-wrench-hcw-11).
After you loosen/remove that, the inner part should be easy to remove.
For the drive-side (right) the ‘correct’ tool [looks like this](https://www.parktool.com/en-us/product/crank-and-bottom-bracket-wrench-hcw-4)
You may be able to do it with tools you have at home, but the ‘correct’ ones will make things a lot easier. If you don’t plan on working with a lot of bottom brackets, it might be worth paying a shop to do it so you don’t have to buy new tools. If you do that, have them switch you to a sealed cartridge BB – only one tool for both sides.
Strangely enough if you use the correct tools it’s not too hard a job. If however you try and bodge it through with adjustable spanners or hammer & chisels etc they can be an absolute swine.
A bike shop has the official tools for a cup and cone bottom bracket.
You need a 16mm wrench and a 36 mm wrench.
https://www.parktool.com/en-us/blog/repair-help/bottom-bracket-tool-selection-threaded-and-thread-together
Here is RJ video on updating to cartridge
https://m.youtube.com/watch?v=1BrVjDFqotE&pp=0gcJCdgAo7VqN5tD
With $30 of Park Tool wrenches
Proper wrench. 36 mil i believe. That’s an old 5piece. Serviceable definitely
I didn’t have the correct spline size and walked into my local shop today (they were slow) and asked what spline tool I needed. Brought the bike. Mechanic put in on the stand, gave me constant shit about my bike cleaning, and installed the new one. Refused payment for the install.
Just FYI – sometimes you need the tool and your local shop has it.