
Hey everyone,
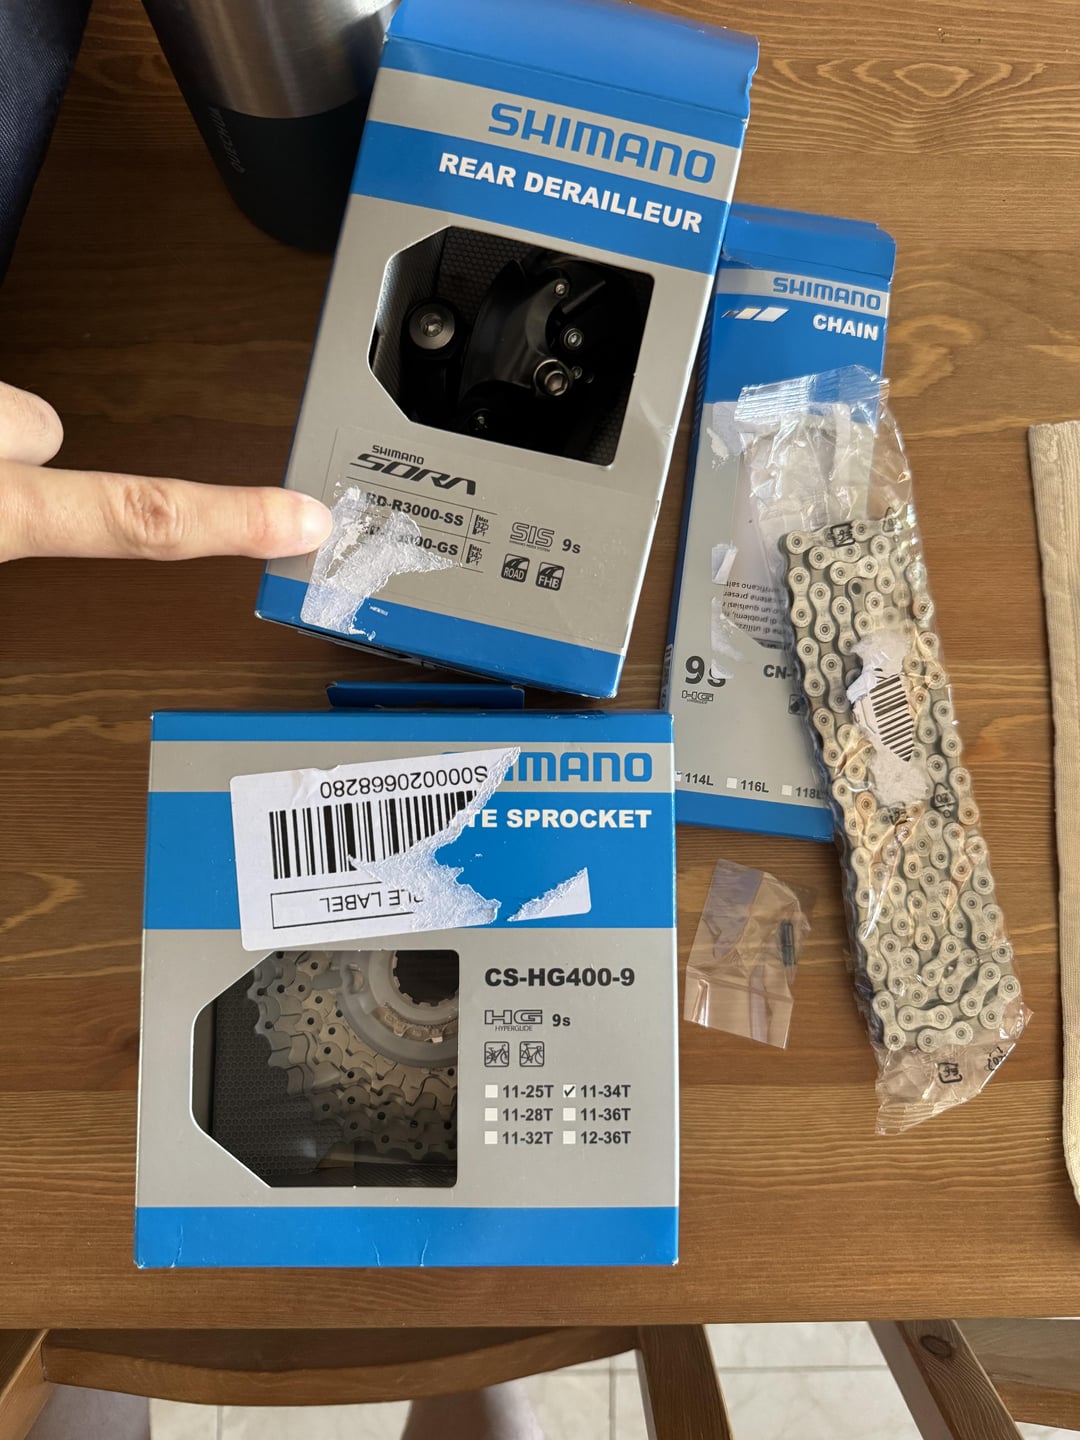
I’m planning to do some maintenance on my bike and upgrade a few parts — specifically the rear derailleur, cassette, and chain (from my old Shimano 105 2×9 setup). You can probably see my other posts if you’re curious about the build.
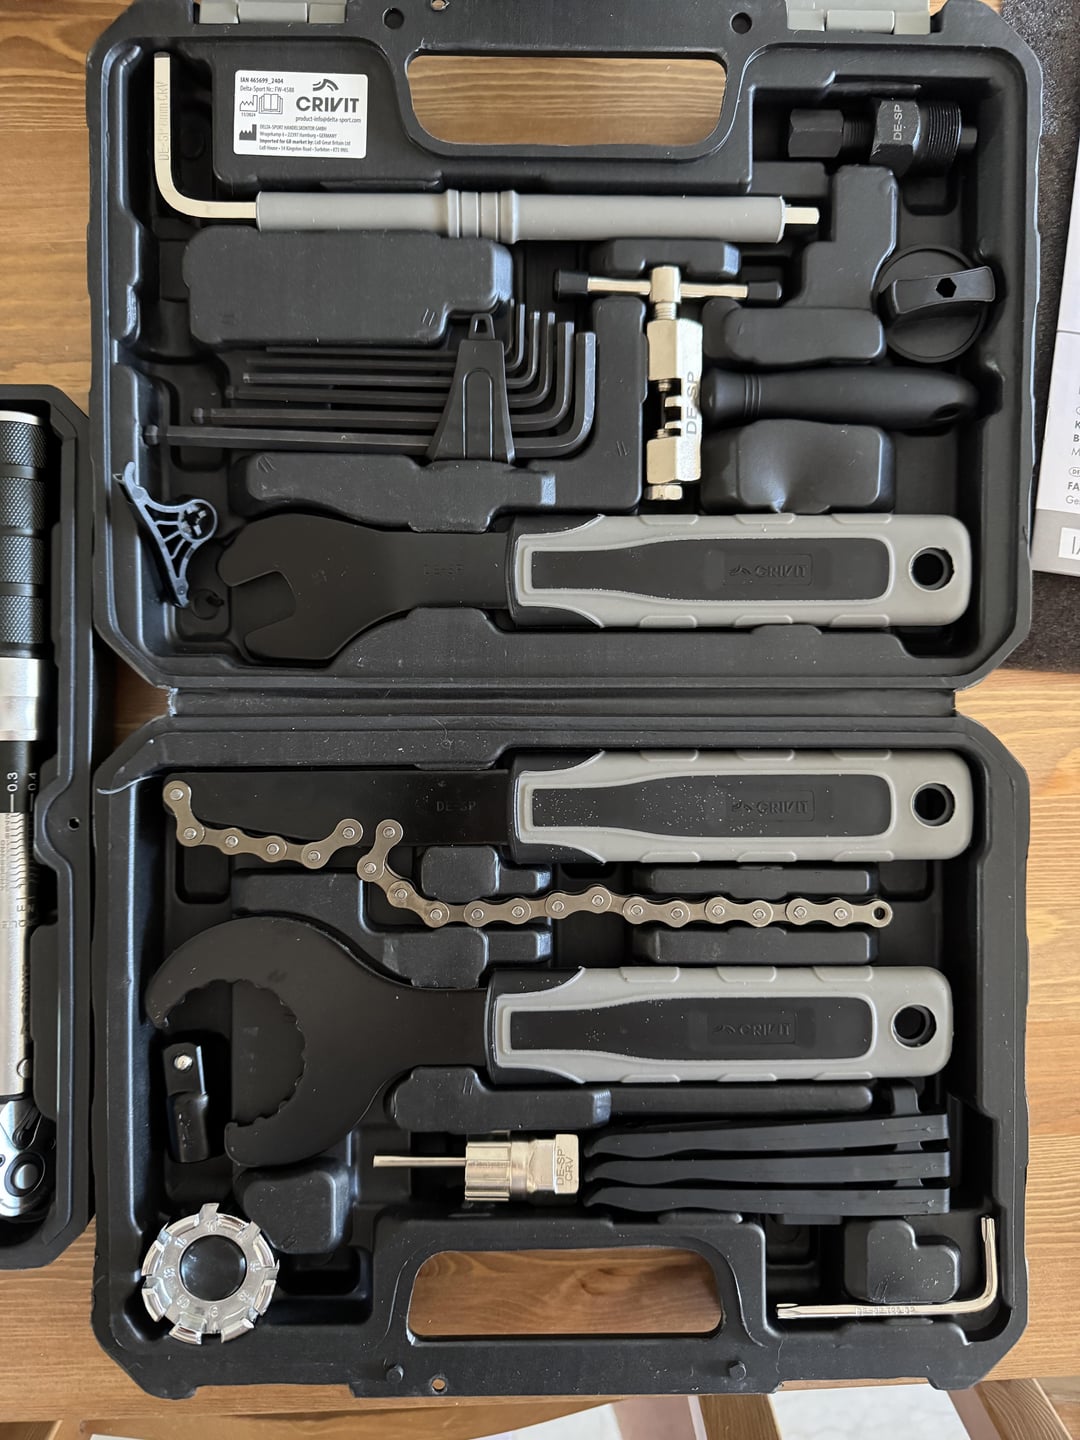
I’ve already gathered some tools from the good old Lidl weekly deals and have access to more from my dad’s garage. I’ve also got degreaser and a fresh dry lube to hopefully avoid the dreaded black gunk buildup this time.
Before I dive in, just wanted to ask:
• Besides patience and the usual learning curve, is there anything specific I should watch out for?
• Any tools that are commonly forgotten when working on the drivetrain that I should double-check I have?
Appreciate any tips, I’m looking forward to learning and doing this right!
If anything goes wrong I have always a local bike shop to assist me or do the bits and bobs later on that I eventually can not fine tune.
by ertyman5
16 Comments
Looks pretty complete.
New gear cables maybe?
But beside that, it looks quite complete to me
If you’re going to the trouble of a new derailleur you should probably replace the shift cable and housing (in which case you’ll need special cable cutters)
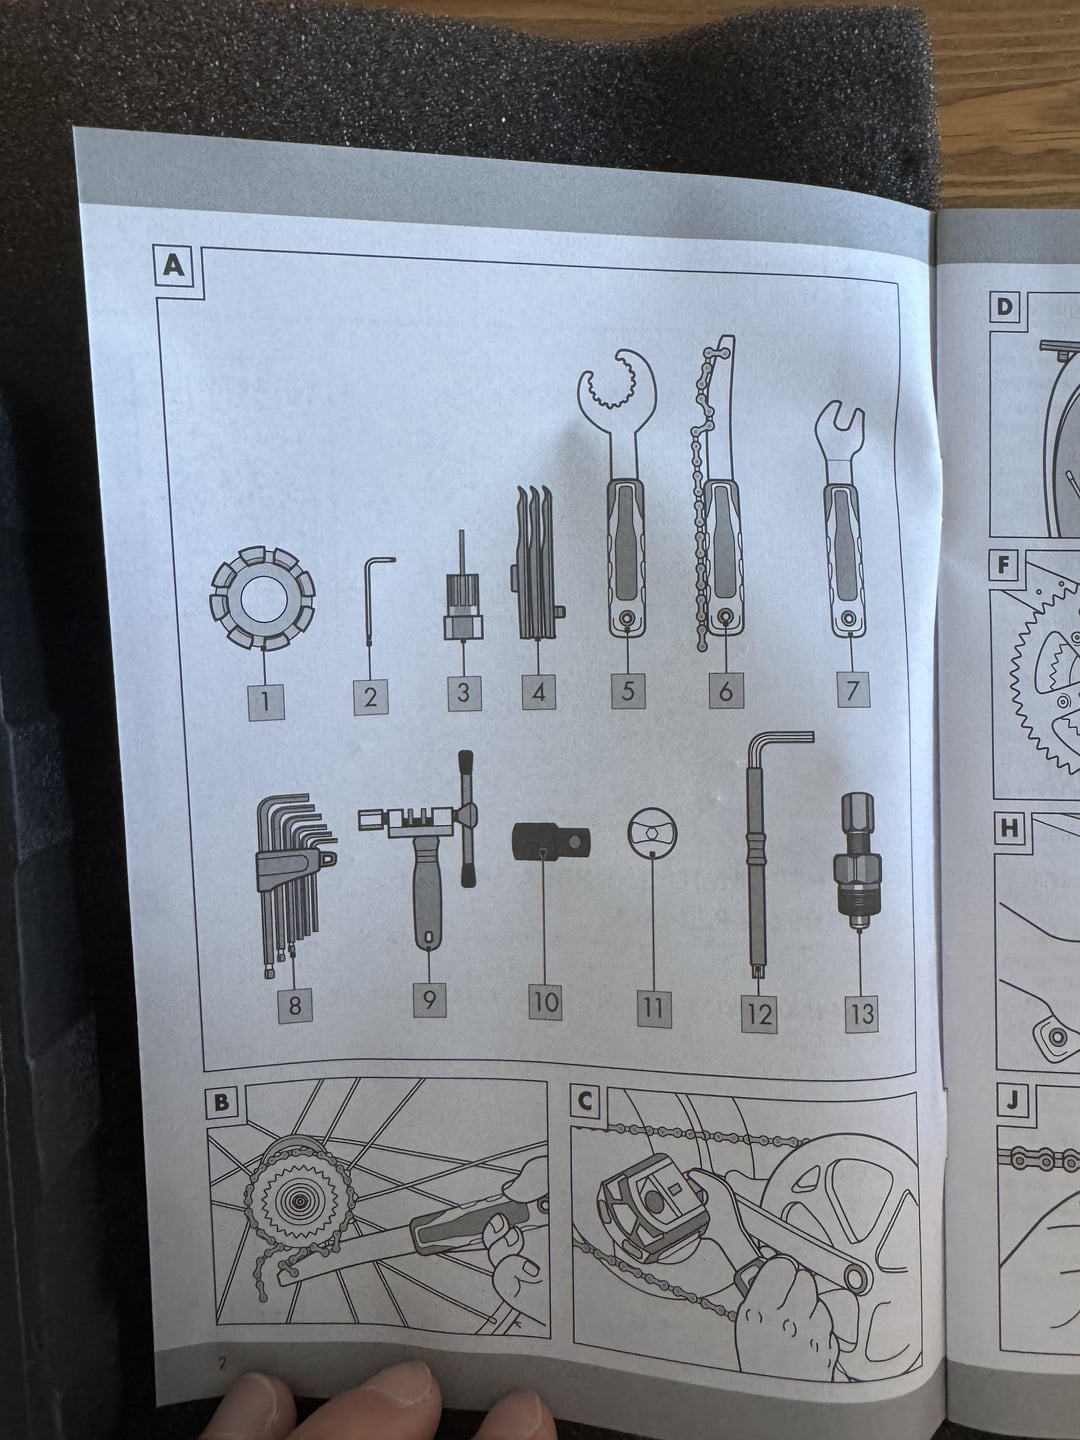
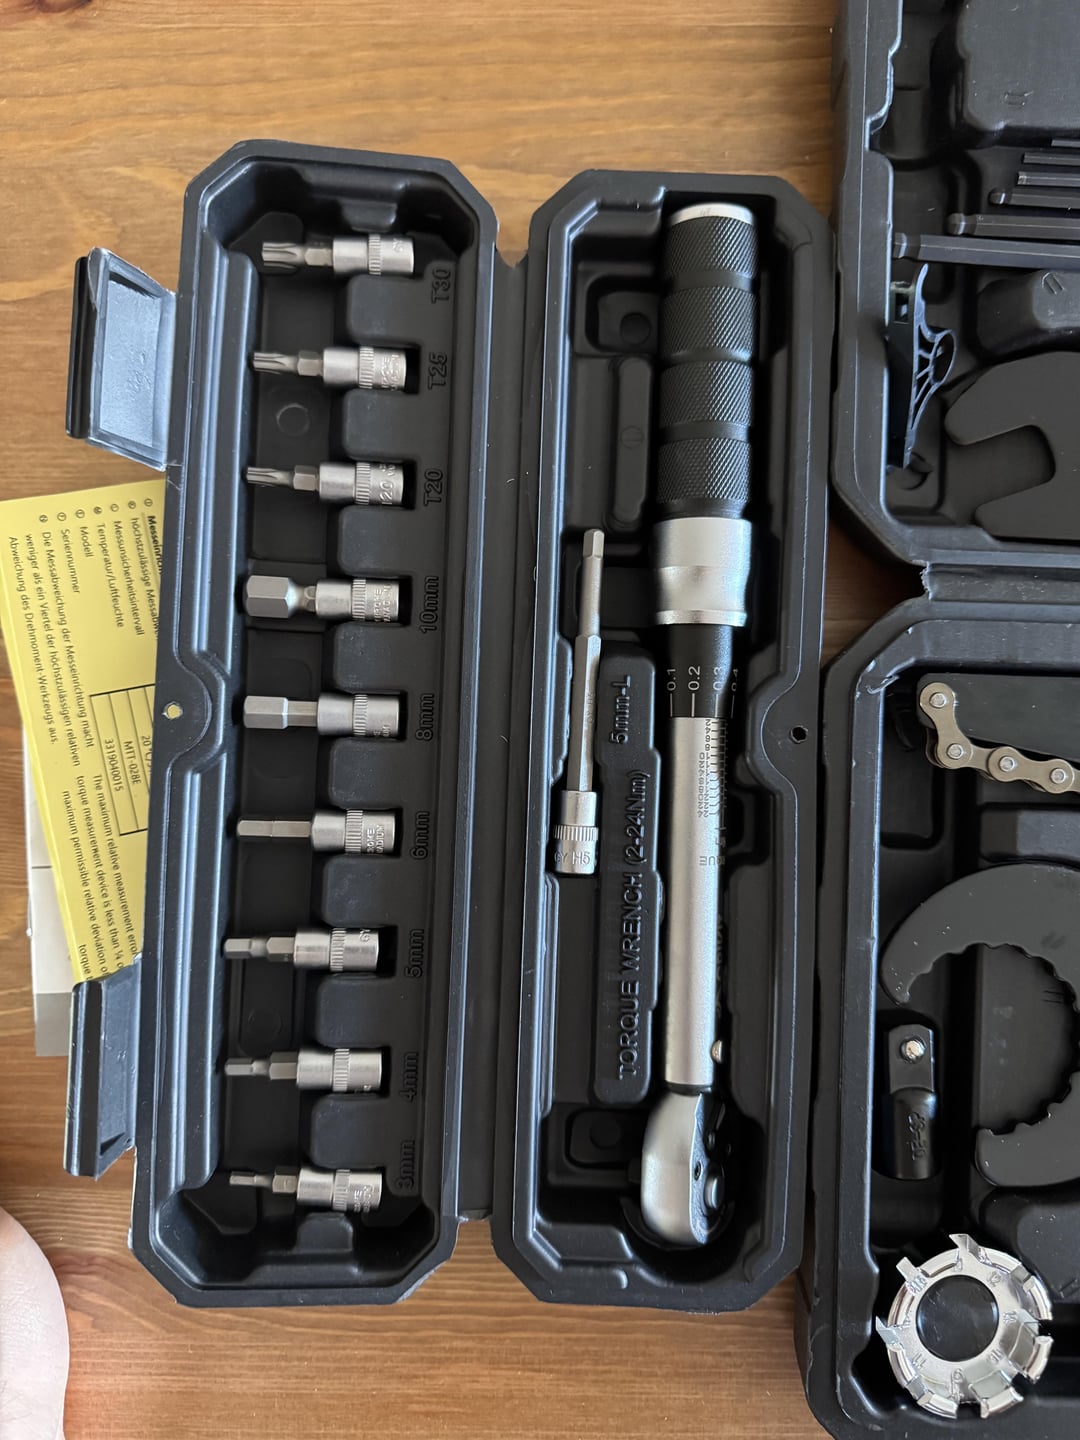
Quick link pliers (i havent had my coffee forget exact name), that looks to be a cassette tool(3) so you have the proper one there, you also have the chain whip for removing said cassette which is good. Torque wrench is a nice bonus, starting mechanics usually forget to grab this. Persoanlly if its one of your first times changeing a rear cassette make sure you dont crossthread the lock ring. It should spin in smoothly then you can tighten it down. Same withthe rear deraileur mounting screw, it should go in very smoothly. Welcome to bike repair and get ready to have some fun, Parktool also has some amazing repair how to videos,
As others said, for optimal shifting with a new system, new cables. But running new cables can be a pain – and while pliers with “cables cutters” can work in a pinch, you won’t have the clean end less prone to fraying before you cap it without a sharper cable cutter.
I’d add in a new shifter cable, new housing, and a crimp cap for the end of the cable.
For the housing, just take any existing housing from your bike to your local bike shop and get them to trim you some pieces to length. If the cable routes internally inside the frame, it can be tricky to replace at home – if it’s externally routed you should have no issues.
This is a great start. And good on you for wanting to do things yourself. As you progress, you will add to and supplement the tool chest and that is half the fun. You’ll want to figure what type of bottom bracket you have. If you have a press fit, you’ll want to add an inexpensive press/removal kit. If it’s BSA/threaded, that BB tool will likely be just fine. And if you want to avoid the dreaded black mess, look into waxing your chain. The initial starting costs are minimal and it really makes a difference in both cleanliness, performance, and component lifespan.
Thet torque wrench is about 20 nm shy of the amount you need to crank your rear casette, but you can get that right by hand without risking catastrophic faliure.
Cables and cable cutters, also a bonus. You just can’t get cables right without the proper snips.
Degreaser is okay but I’d suggest a good solvent like white spirits and alcohol to clean your chainrings properly before putting the chain on. Also useful for really cleaning the chain before applying your wax or lubricant of choice. And some grease for the hub and cassette locking…
Definitely new cables and housing. And since the bar tapes comes off, treat yourself to a fancy new overpriced bartape with a cool design.
My only thing is, 105 with 105 and sora with sora. No mixing. The index is just not exactly the same. With that said you can get it close.
i’d also change the chainring on the crank if ur doing the chain + casette. (unless its not old like the other parts)
look up some youtube tutorials and go for it.
i found the derailleur the most tricky. i also got some extra quicklocks with the chain. but that’s optional.
best of luck.
The bike to perform your maintenance on
That cassette lockring removal tool (number 3) looks a bit derpy – the protruding rod should be central but it looks off in your photo
All good.
Chainrings.
Defo proper cable cuttersand one or two front sprockets missing, usually for me just the middle one is fine as it’s the most used one. If you replace the cassette and chain you have to usually do that as well.