
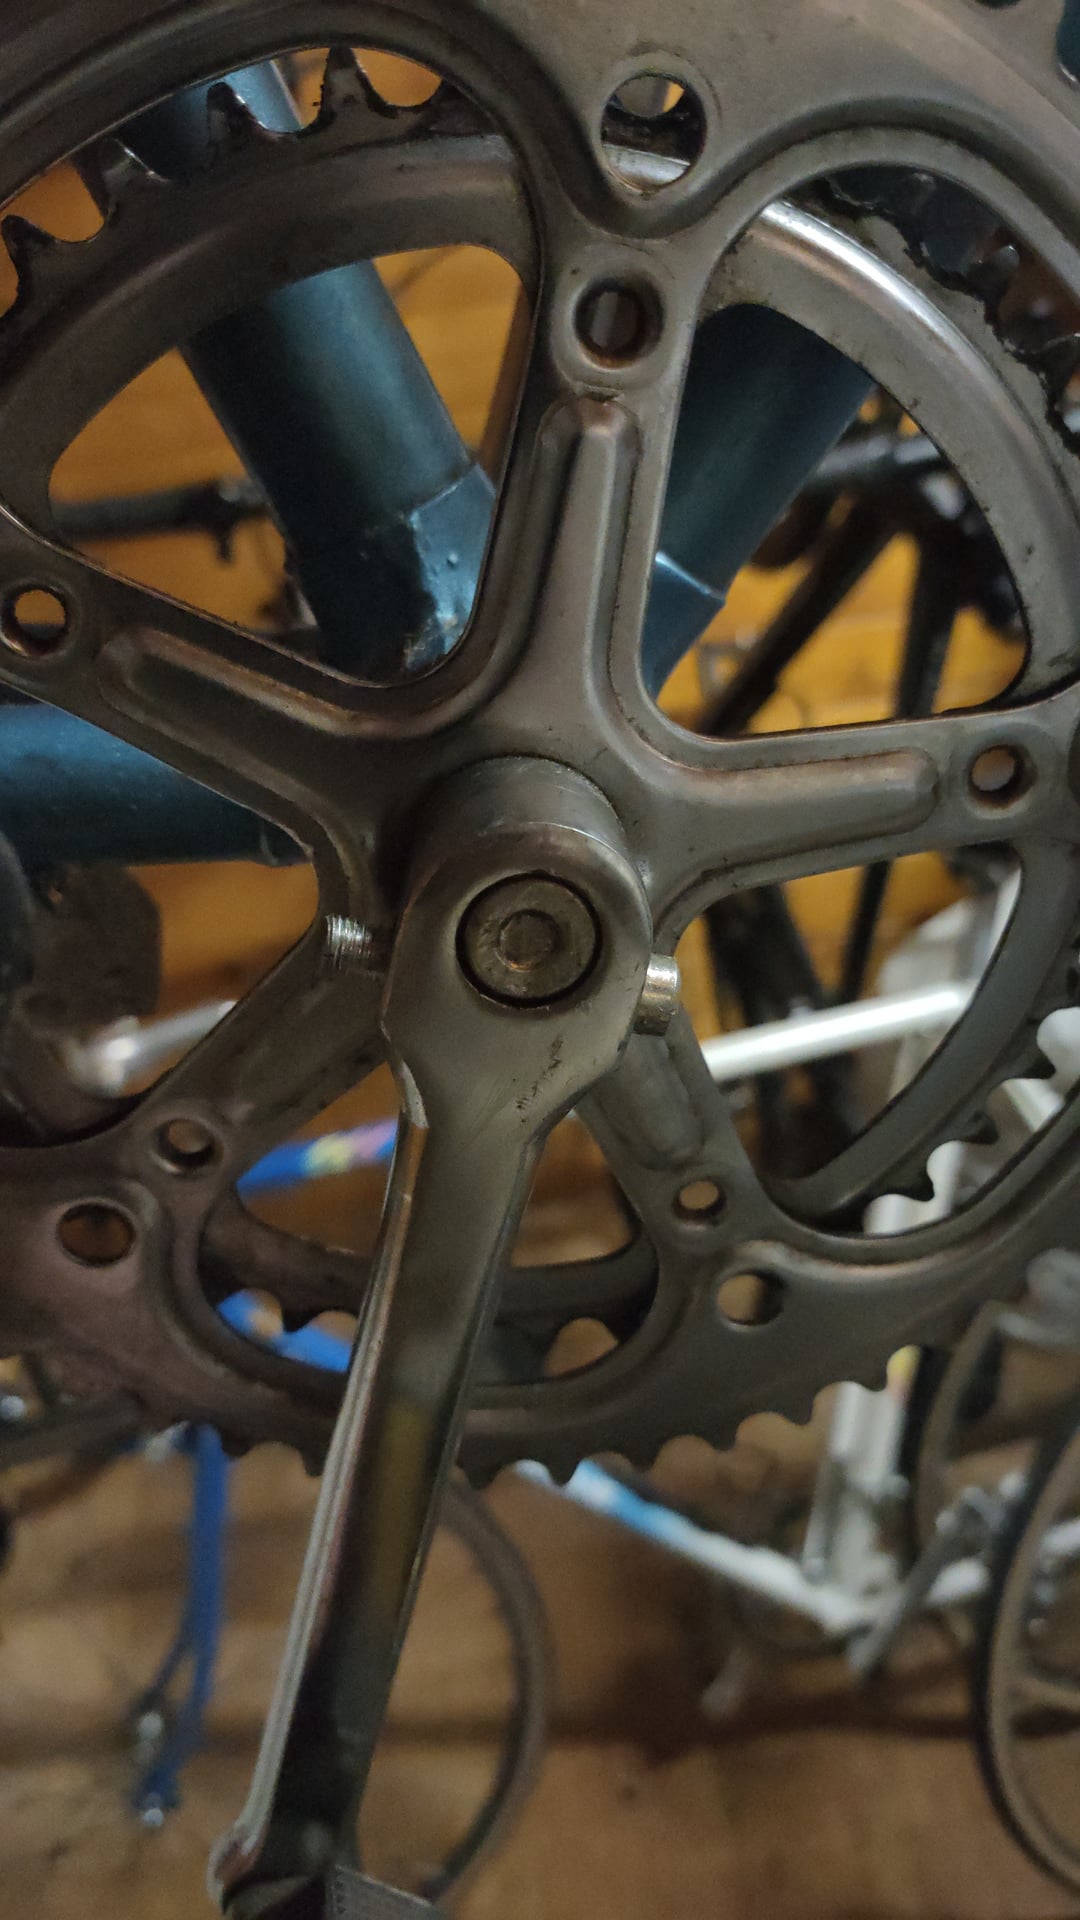
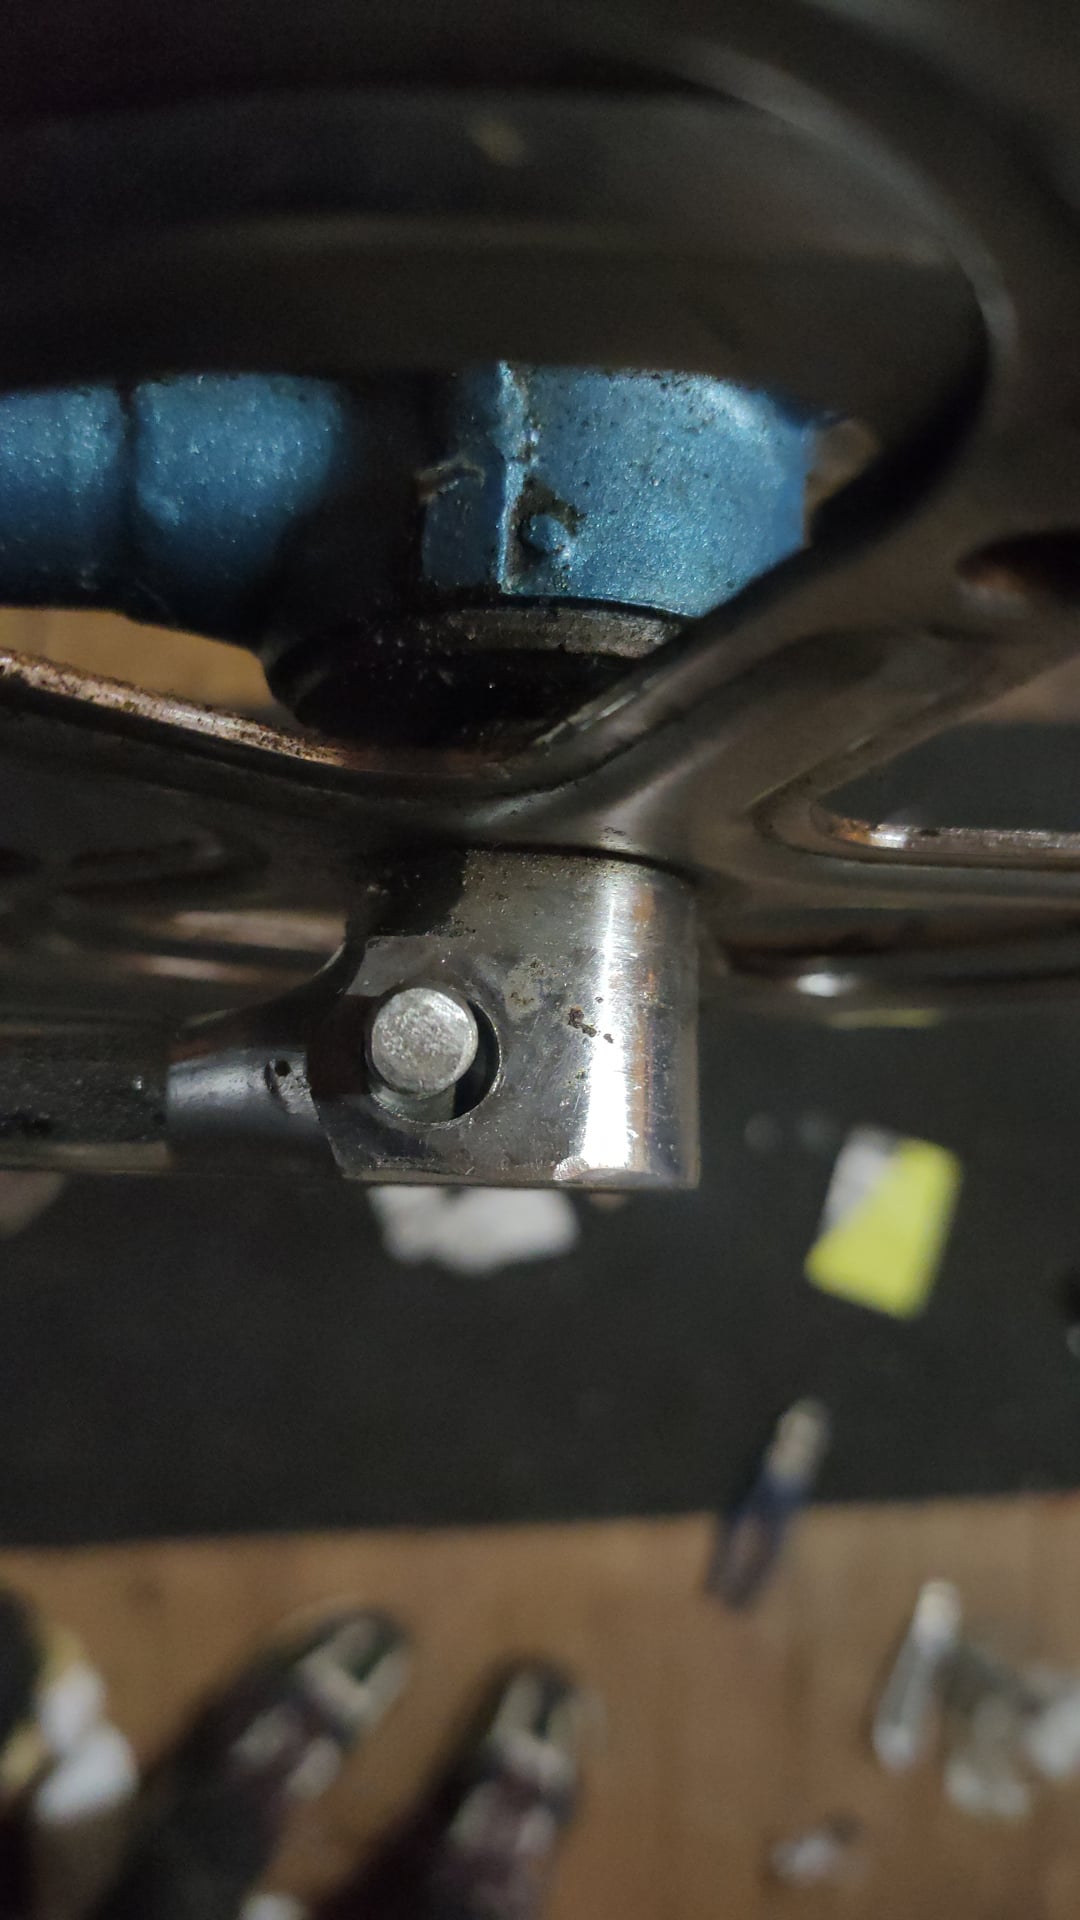
It doesn't seem to be a cap the metal item. But I also can't knock out the screw with a hammer because it's set against the side. Any help? I'm a noob haha
by urbanwhiteboard
It doesn't seem to be a cap the metal item. But I also can't knock out the screw with a hammer because it's set against the side. Any help? I'm a noob haha
by urbanwhiteboard
7 Comments
I’ve had to use an angle grinder before on a seized crank like this because I was running into the same issue. Doubt it’s the best approach but it worked.
You have to remove the cotter pin with a hammer. And if you tried, you have to wack it harder, but support the spindle at the same time. It can turn into a nasty job, depending how gunked up it all is …
[https://sheldonbrown.com/cotters.html](https://sheldonbrown.com/cotters.html)
You have to get the cotter pin out.
How, is another question.
THe cotter pin is threaded on one end. This is where the nut is fightened onto to prevent it from falling out. you have to add the nut on the threat, close it so that there is still a 1-2mm gap between the lower end and the crank. use a Hammer to push the nut onto the crank. One strong hit should do it. Now the cotter pin is lose, remove the nut and pull the pin out. Never use a hammer on the cotter pin threated end, you will damage the edges and afterwards the threat is broken and you will not be able to fit a nut.
As others have said, a hammer to hit the threaded side of the cotter pin. But leave the nut on the end, so you don’t booger the threads, so you can reuse the pin. The nut is easily replaceable.
PB Blaster and/or heat may help, but you need to hit it hard.
You can also use something like a 2×4 placed against the pin and hit it with the hammer, so you aren’t striking so close to the crank or frame.
Do you want to remove it and put it back on? IME, cottered cranks suck. If you want to preserve this historic flavor of the bike, remove carefully. If you want a supervisor crankset by updating by a few years to a square tapers aka “cotterless” setup, just cut it off by any means necessary.
I’ve had success using a g clamp to push cotter pins out. You’ll likely need wd40 as well. Let it soak and give it a firm tap or two with a hammer to work it loose before you get the clamp on it