
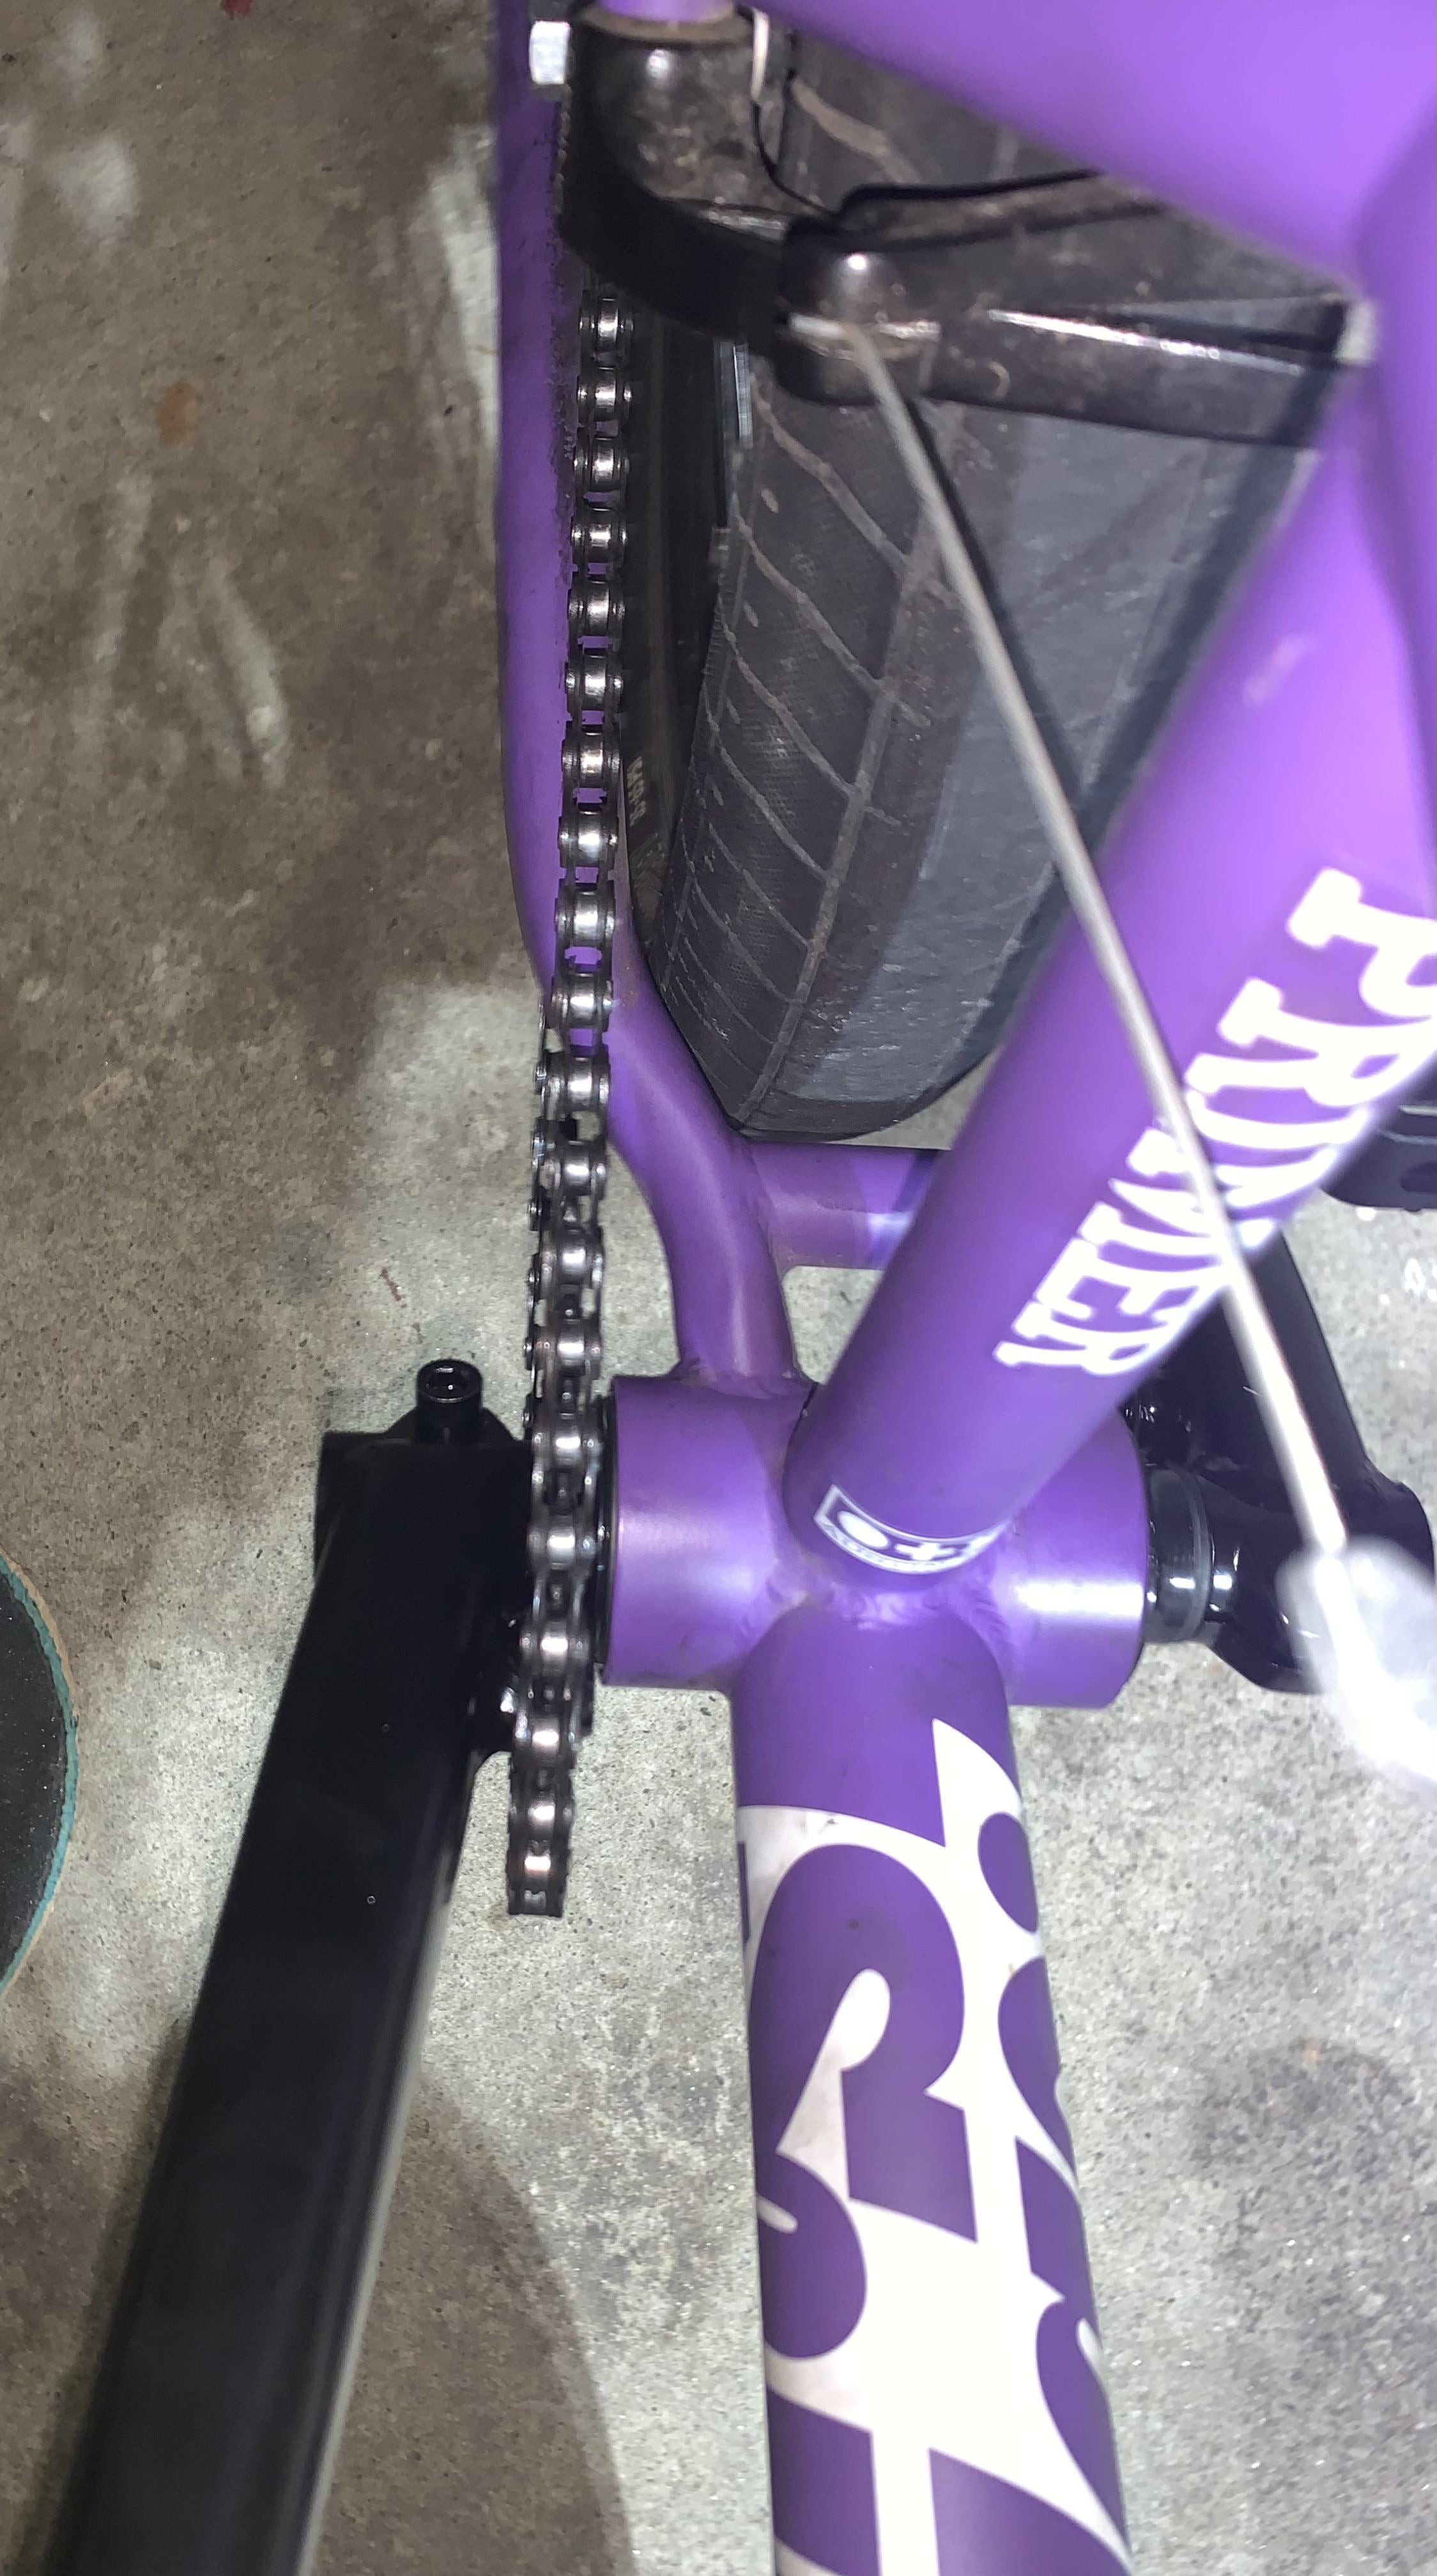
So I put new 165 mm cranks on today and I forgot to put the spacer in between the bearings… could this be the cause? My sprocket wasn’t crooked or bent before these new cranks:(
by Aglacia-_
So I put new 165 mm cranks on today and I forgot to put the spacer in between the bearings… could this be the cause? My sprocket wasn’t crooked or bent before these new cranks:(
by Aglacia-_
2 Comments
Also I had hell of a time getting the new bearings in so maybe they arnt all the way in?
The spacer on the sprocket side isn’t required. The bearings are sealed so only use it if you need it for chain alignment. I didn’t use mine on my recent crank/bottom bracket installation because the chain would have had crooked alignment if I did. Otherwise if you spin your crank arms and the sprocket seems to “wobble”…
Best thing is to take apart and start over from the beginning. Luckily this is easy and doesn’t take much time. Assess first by loosening rear wheel, remove the chain from the sprocket and spin the cranks and see if the sprocket is in the right spot and not moving around/wobbly during revolutions. Have grease handy to apply to parts to make installation easier. Remove arms and sprocket and get down to just the bottom bracket bearings. Make sure bearings are pressed in all the way. I usually install spindle into bottom bracket bearings (with grease on it), slide sprocket with spindle adaptor onto the spindle and then the arm right after. Start the bolt on the sprocket to connect to the crank arm (don’t fully tighten) and then tighten the bolt threading into the spindle to get arm tightened against the sprocket. Install the opposite arm and thread the bolt into the spindle to pull it in. Check arm clearance against the frame/chainstay area for even spacing (this is what the crank washers/spacers are for if you need to pull an arm further out. Check that spacing is even with the arms on the spindle by peaking in the pinch bolt area (should be able to see the spindle). If it’s not centered, loosen the one side and tighten the opposite to pull the spindle in more. Once evenness is checked, torque the spindle bolts down to make sure crank arms are fully seated and tight. Then tighten the sprocket to crank arm bolt and then tighten the pinch bolts on the arm when everything else is tight. Spin the crank arms and see how everything looks.