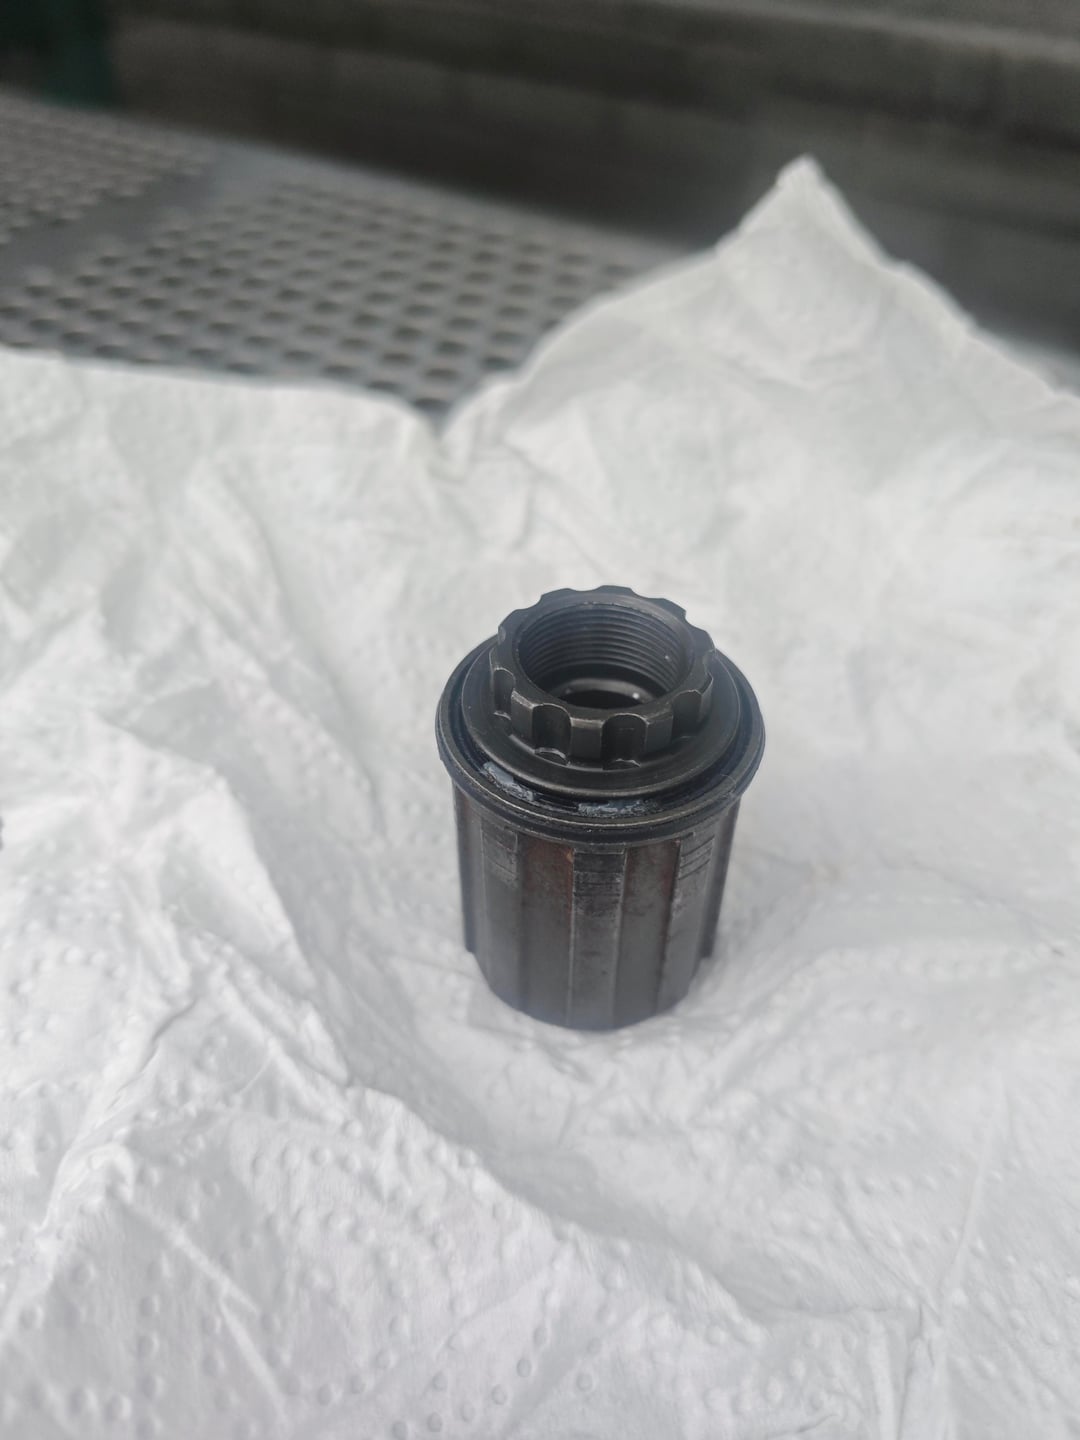
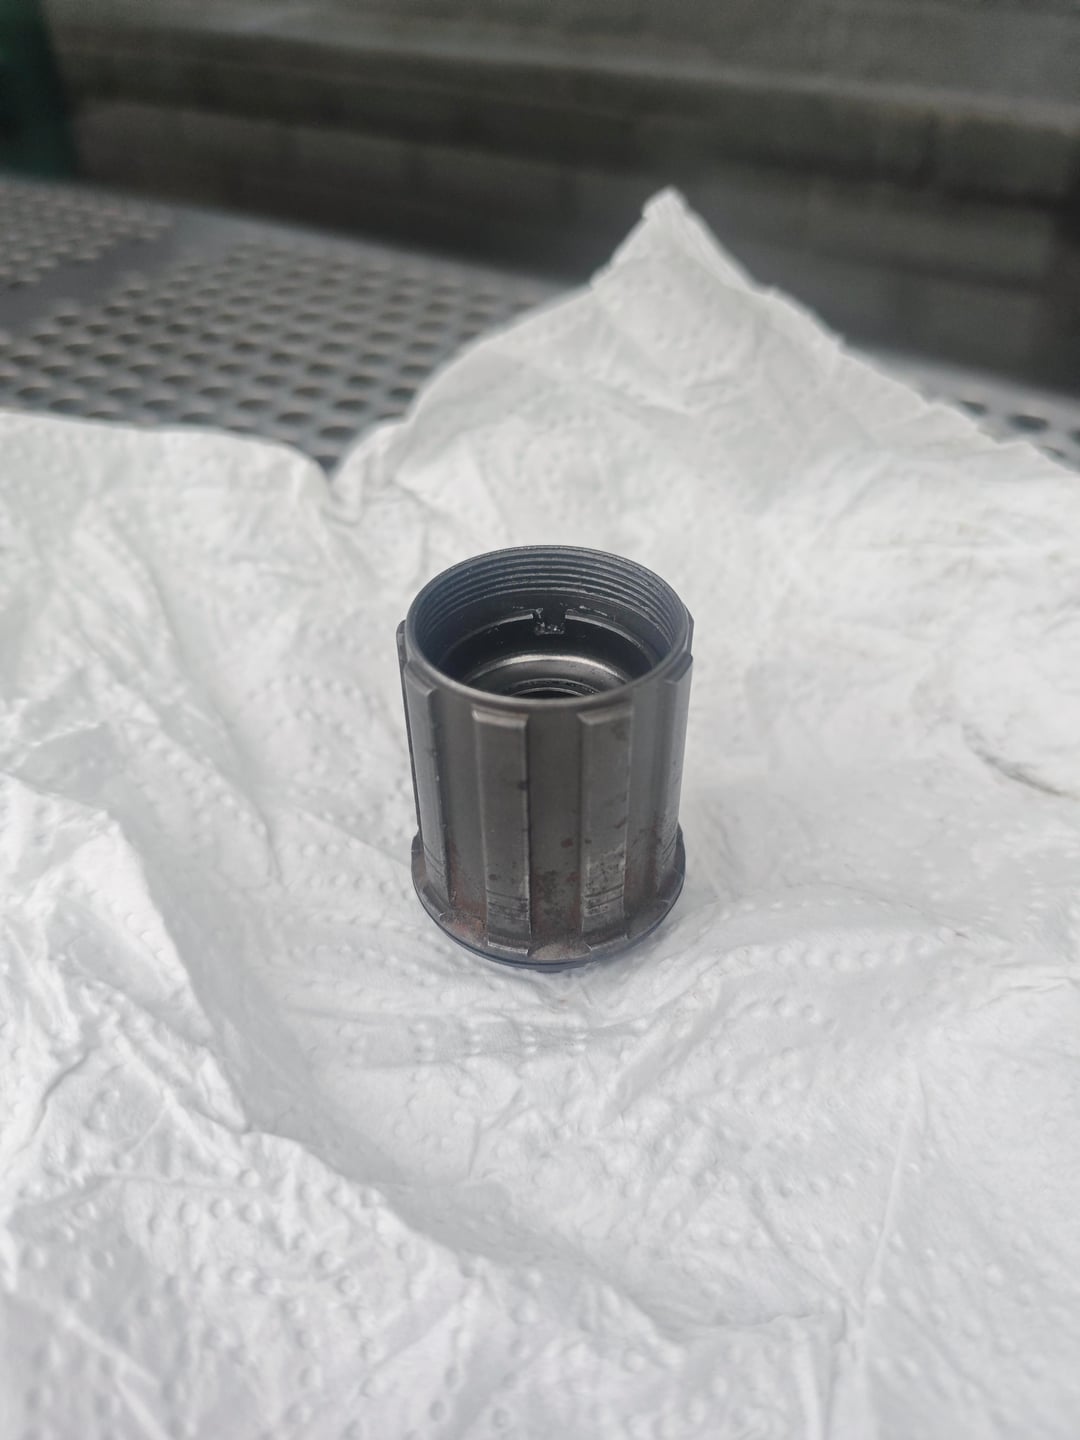
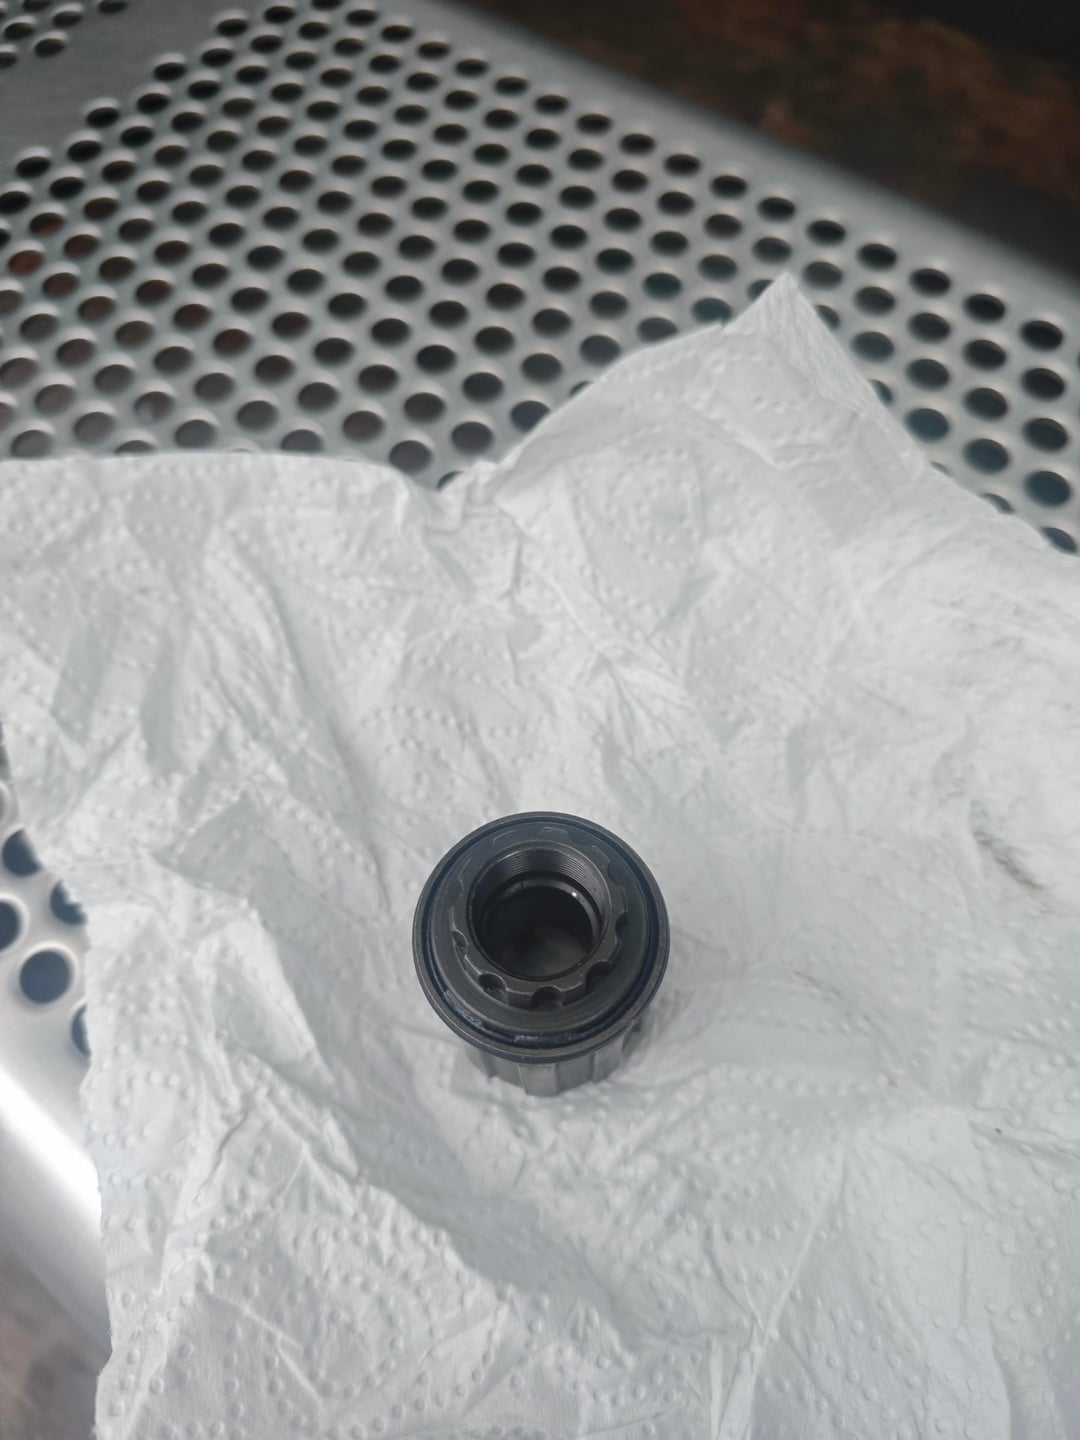
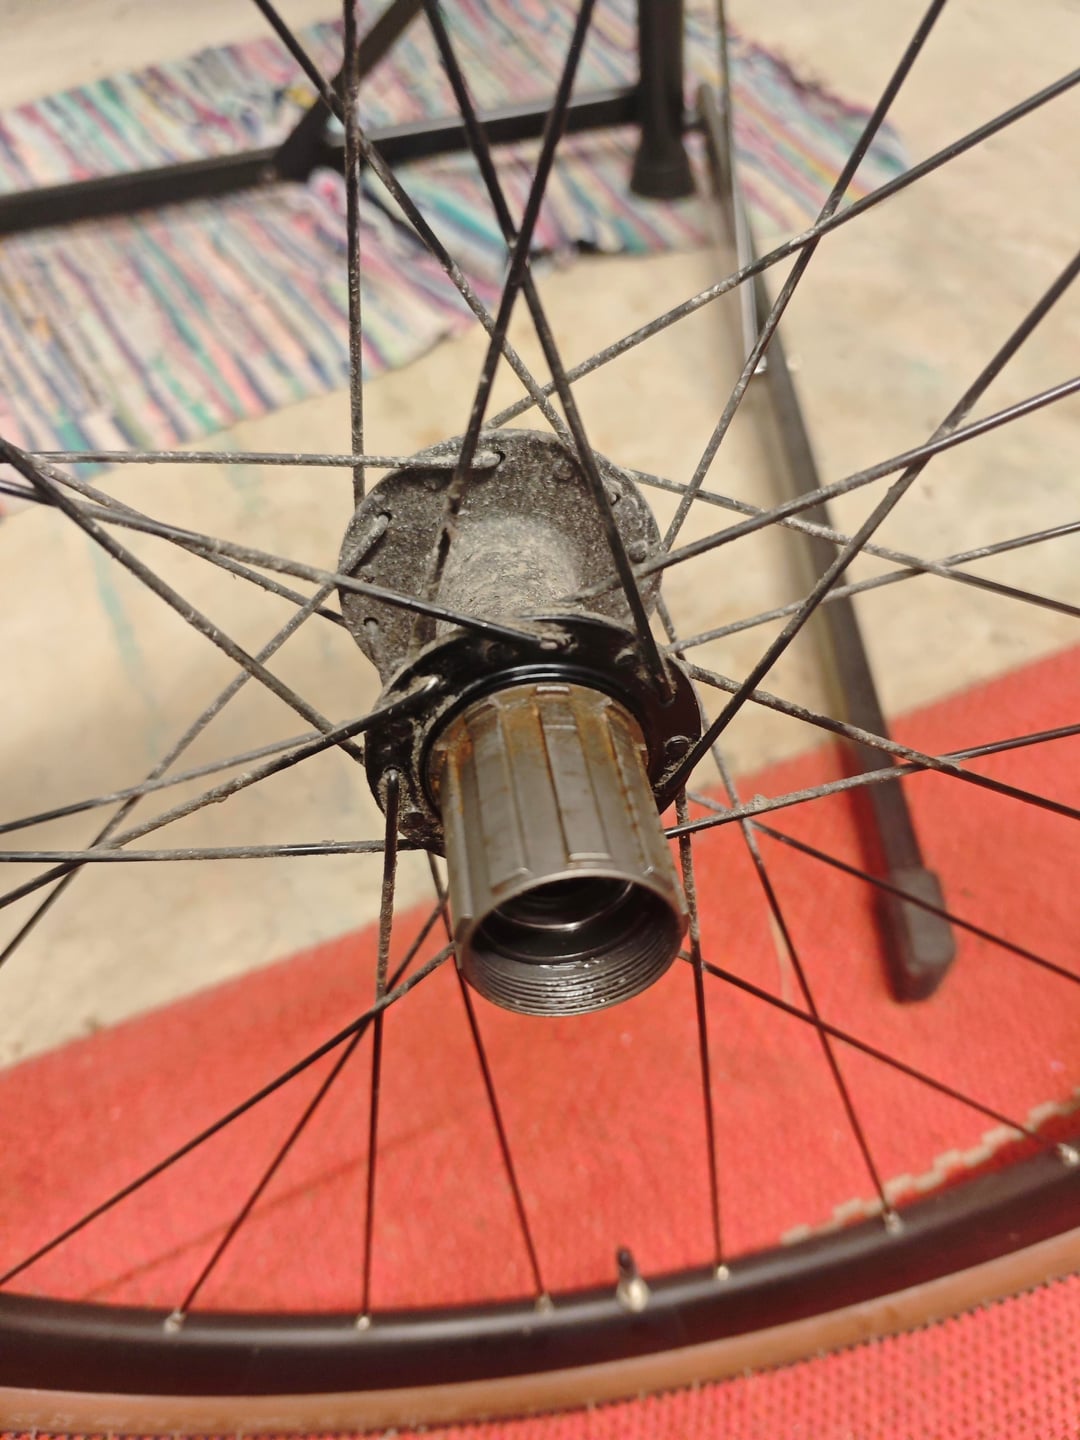
That’s a Shimano free hub. opening It is literally the worst idea you could have. Marks to you for getting it off. Most people can’t figure that out. You should be able to order a new one fairly inexpensively.
No_Improvement_5358 on
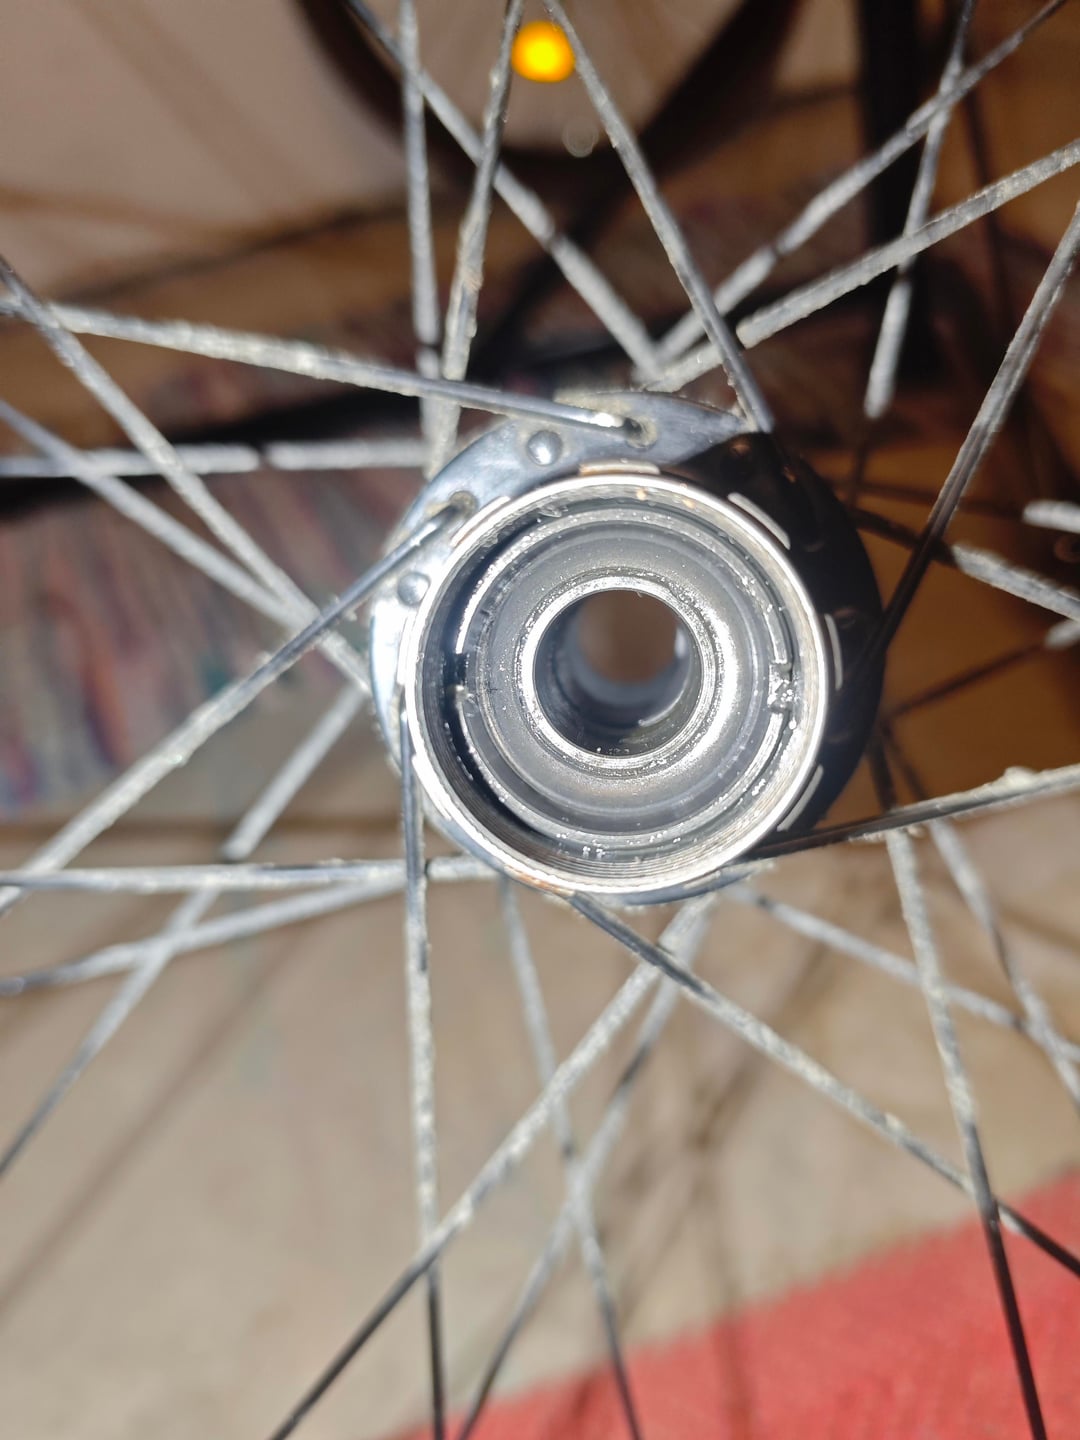
Buy a new one if you can afford it. But if you want to open it, the required tool would fit in those 2 slots you see on the outside end.
flippertyflip on
Much like taking a freewheel apart it’s all gonna explode everywhere. It’s possible but not advisable.
OldDog5751 on
Short answer is you don’t. Disposable, buy a new one
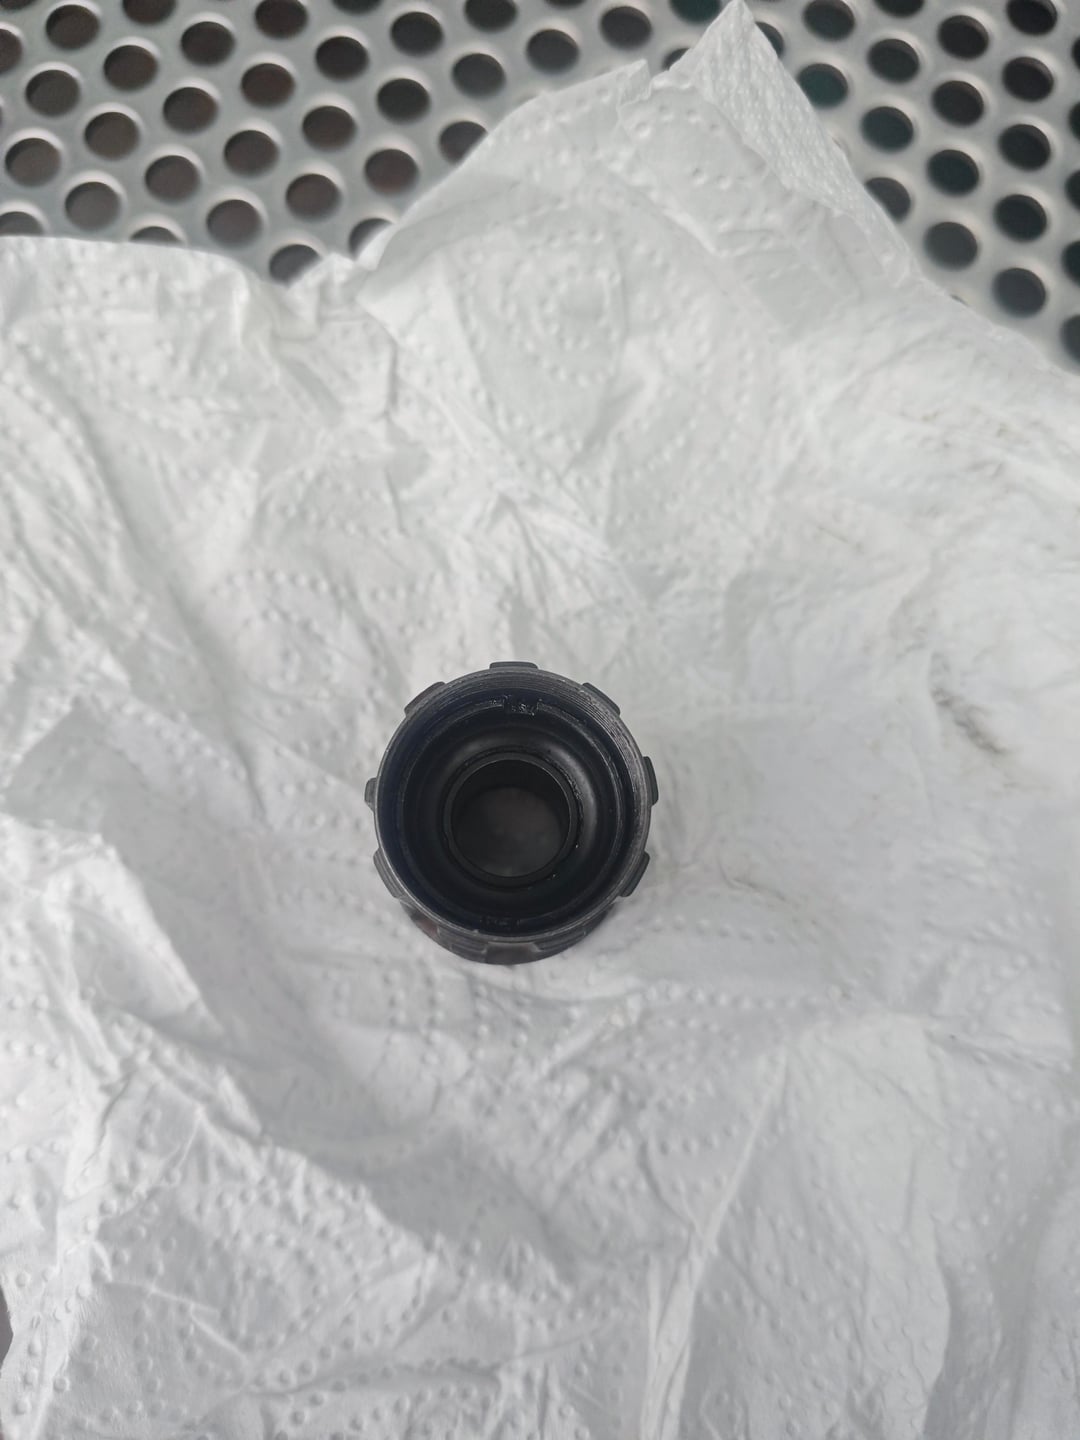
Long answer is that those two prong notches of the bearing race are reverse threaded and if you can secure the freehub body so that you can use either the specific tool or a hammer and punch you can remove the bearing race and expose the bearings and pawls inside. But it’s not really worth it if you can buy a new one
CargoPile1314 on
The disassembly tool looks like [this.](https://www.walmart.com/ip/Bicycle-Freehub-Body-Remover-Stainless-Steel-Bike-Hubs-Install-Disassemble-Tool/1776426773) They’re available at other popular selling sites but the forum strips those links so I’ll leave it to you to find if you end up going down this path. Also, you’ll need to put the freehub back on the hub for the leverage. There are then a number of overhaul videos on the internet. BITD, overhauling a freehub was expected service and Shimano offered tools and instructions. You’ll want/need some patience the first handful of times. Worst case scenario is that you have to buy a replacement freehub.
kill_vinnie on
You dont
Unlikely-Office-7566 on
If I were you I would simply soak the whole thing in degreaser, shake it in a jar full of degreaser or something. Then do the same with a medium-light oil, and then wipe it down as best as possible.
They are serviceable, but it really sucks to do. Judging by the corrosion present you likely just need to get the rust and old oil out of the innards and get fresh oil in there.
gabest95 on
You’ll need a tool like this, it’s essentially a large nut with two teeth that go into those 2 slots on picture 4. The long bolt and wingnut hold the tool in place.
I just serviced one recently and it was a doozy. It took so much force just to open it up., it’s very easy to lose one of the very tiny bearings or other components, and reassembling took the longest. I needed picks and tweezers. I feel icky about sharing my instagram stuff here but I created [this video](https://www.instagram.com/reel/DTTBXPrijyp/?igsh=NTc4MTIwNjQ2YQ==) if you’re interested in seeing the process
NerdAlert03 on
Don’t open it. Unless it’s totally fried, it can probably still be serviced without opening it up.
Soak it in mineral spirits for a couple of days. Give it a good shake a few times a day. Spin the inside a few times a day. Change the mineral spirits a few times until it comes out clear.
When it is finally clear, leave it out to dry. It needs to be completely dry inside. If it doesn’t dry quickly and completely, rust may form inside. In the winter, I hang it from the heating vent in my house for two days. In the summer, I put it on my dehumidifier for a couple of days.
Get some Phil’s Tenacious Oil or something similar ( I hear Phil’s is just a heavy gear oil) Drip a few drops of oil so it goes inside where the prawls are. When you spin it, you will hear the difference between when the prawls were dry, and when the oil reaches them. More oil is not better, it really only takes a few drops.
I have revived many free hubs this way.
Buying new replacements can be tricky because Shimano made so many versions. These versions can be very similar but are often not the same. Just because the interface with the hub matches up does not mean it’s the right one. The wrong one will seem to be ok at first, but the axle bearing race may not match up perfectly and can cause premature wear.
RaplhKramden on
If it just needs an overhaul, basically cleaning, new BBs & grease, and the tools aren’t that expensive, I’d say go for it. Fixing things might not always make financial sense, but that’s not the only reason to do it. But you might need a special splined socket or tool for the inboard side (or just use the hub which has matching splines), and of course a proper 2-notch tool for the inside of the outboard side. I had to get one of those to overhaul a Mavic FH. Wasn’t too bad, and amazing to realize that all those watts ultimately get transferred by the 2 or 3 tiny pawls inside that thing.

12 Comments
That’s a Shimano free hub. opening It is literally the worst idea you could have. Marks to you for getting it off. Most people can’t figure that out. You should be able to order a new one fairly inexpensively.
Buy a new one if you can afford it. But if you want to open it, the required tool would fit in those 2 slots you see on the outside end.
Much like taking a freewheel apart it’s all gonna explode everywhere. It’s possible but not advisable.
Short answer is you don’t. Disposable, buy a new one
Long answer is that those two prong notches of the bearing race are reverse threaded and if you can secure the freehub body so that you can use either the specific tool or a hammer and punch you can remove the bearing race and expose the bearings and pawls inside. But it’s not really worth it if you can buy a new one
The disassembly tool looks like [this.](https://www.walmart.com/ip/Bicycle-Freehub-Body-Remover-Stainless-Steel-Bike-Hubs-Install-Disassemble-Tool/1776426773) They’re available at other popular selling sites but the forum strips those links so I’ll leave it to you to find if you end up going down this path. Also, you’ll need to put the freehub back on the hub for the leverage. There are then a number of overhaul videos on the internet. BITD, overhauling a freehub was expected service and Shimano offered tools and instructions. You’ll want/need some patience the first handful of times. Worst case scenario is that you have to buy a replacement freehub.
You dont
If I were you I would simply soak the whole thing in degreaser, shake it in a jar full of degreaser or something. Then do the same with a medium-light oil, and then wipe it down as best as possible.
They are serviceable, but it really sucks to do. Judging by the corrosion present you likely just need to get the rust and old oil out of the innards and get fresh oil in there.
You’ll need a tool like this, it’s essentially a large nut with two teeth that go into those 2 slots on picture 4. The long bolt and wingnut hold the tool in place.
https://preview.redd.it/uigne11pmwgg1.jpeg?width=1600&format=pjpg&auto=webp&s=fb4ce445d34dffdda786e507dc9adec0a417ae9b
I just serviced one recently and it was a doozy. It took so much force just to open it up., it’s very easy to lose one of the very tiny bearings or other components, and reassembling took the longest. I needed picks and tweezers. I feel icky about sharing my instagram stuff here but I created [this video](https://www.instagram.com/reel/DTTBXPrijyp/?igsh=NTc4MTIwNjQ2YQ==) if you’re interested in seeing the process
Don’t open it. Unless it’s totally fried, it can probably still be serviced without opening it up.
Soak it in mineral spirits for a couple of days. Give it a good shake a few times a day. Spin the inside a few times a day. Change the mineral spirits a few times until it comes out clear.
When it is finally clear, leave it out to dry. It needs to be completely dry inside. If it doesn’t dry quickly and completely, rust may form inside. In the winter, I hang it from the heating vent in my house for two days. In the summer, I put it on my dehumidifier for a couple of days.
Get some Phil’s Tenacious Oil or something similar ( I hear Phil’s is just a heavy gear oil) Drip a few drops of oil so it goes inside where the prawls are. When you spin it, you will hear the difference between when the prawls were dry, and when the oil reaches them. More oil is not better, it really only takes a few drops.
I have revived many free hubs this way.
Buying new replacements can be tricky because Shimano made so many versions. These versions can be very similar but are often not the same. Just because the interface with the hub matches up does not mean it’s the right one. The wrong one will seem to be ok at first, but the axle bearing race may not match up perfectly and can cause premature wear.
If it just needs an overhaul, basically cleaning, new BBs & grease, and the tools aren’t that expensive, I’d say go for it. Fixing things might not always make financial sense, but that’s not the only reason to do it. But you might need a special splined socket or tool for the inboard side (or just use the hub which has matching splines), and of course a proper 2-notch tool for the inside of the outboard side. I had to get one of those to overhaul a Mavic FH. Wasn’t too bad, and amazing to realize that all those watts ultimately get transferred by the 2 or 3 tiny pawls inside that thing.
This is the tool I got:
[https://www.amazon.com/dp/B0BRX9WB5J](https://www.amazon.com/dp/B0BRX9WB5J)
You might need a similar one but of a different width. You’ll also need new BBs and good grease, and a good medium weight oil for the pawls.
RJ The Bike Guy’s got you covered:
[https://www.youtube.com/watch?v=X9gIEG1db0s](https://www.youtube.com/watch?v=X9gIEG1db0s)
Why do you want to open it?