
How much should you pay for a handlebar rack? According to the market, it looks like decent options are all going to be $100+. I was inspired to dig into something DIY in particular with the $175 Rat King Cradle ([https://wearestuntdoubles.com/product/ratking-cradle-presale](https://wearestuntdoubles.com/product/ratking-cradle-presale)) and the $100 Specialized Rack ([https://www.specialized.com/us/en/specializedfjllrven-handlebar-rack/p/220837?color=361880-220837&searchText=41123-6700](https://www.specialized.com/us/en/specializedfjllrven-handlebar-rack/p/220837?color=361880-220837&searchText=41123-6700))
To be clear, you can spend whatever you want on a rack. Nice things are nice things.
Another problem with handlebar racks is that most of them are just… not good. For bikepacking, anything that relies solely on clamping force to support a tent or more while rocking down a fresh gravel fire road (\*much less\* rooty singletrack) \*\*will\*\* fail. The Specialized cradle is totally inadequate in this regard.
Finally, almost all of the commercial solutions are still set up to crush your brake and shifting lines on an MTB. It’s absolutely wild.
Hopefully many of you have seen the enlightening DIY Handlebar rack post here: [https://crankbased.blogspot.com/2015/02/diy-handlebar-bag-support.html](https://crankbased.blogspot.com/2015/02/diy-handlebar-bag-support.html) which shows what a good handlebar design is: something that hooks under the stem. However, even this simple DIY solution requires the ability to cut and bend steel which many folks don’t have or won’t want to, including myself.
Enter PVC.
You can find the album showing what this looks like here: https://imgur.com/a/ah54roK
I used 1/2 inch components. Measurements will change based on your stem size and angle, but for me this included:
* 4 x 90-degree elbow
* 2 x 45-degree elbow
* 2 x Cap
* 2 x 4″ Pipe section
* 3 x 3″ Pipe section
* 2 x 1″ Pipe section
Construction took around 30 minutes, and that included me engineering and testing the solution without cementing.
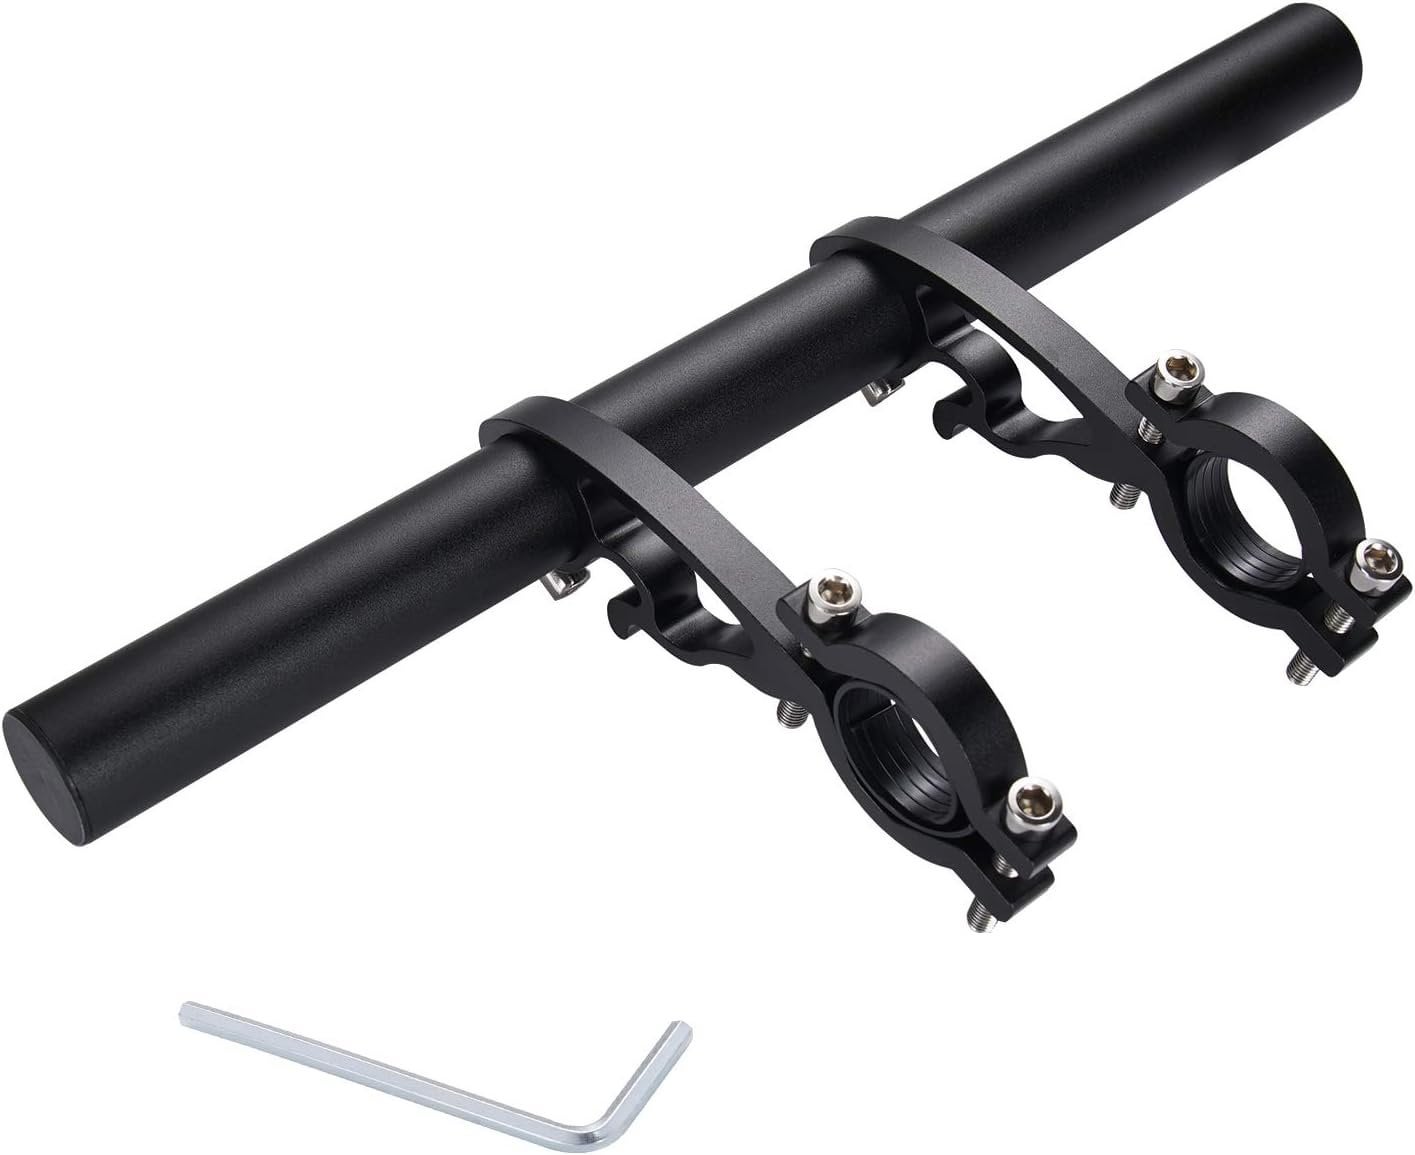
Finally, I included an aluminum “Handlebar Extension” from Amazon. These are all garden-variety chinesium and hover around $15. You could go full PVC with some 4-way fittings thrown into the mix here, but
* I already had this extension that I tried to use as a brace by itself (at which it failed).
* By creating another T, you make the PVC brace a permanent fixture of your bicycle.
A 2′ (24″) section of PVC Pipe is $3. Each fitting is $.67, so the total PVC cost is $8. The handlebar extension is $15.
You could purchase these supplies, PVC cement, and a high-end hacksaw for less than the cheapest handlebar rack on the market and it would perform better. I shook this down on multiple routes and trips and it was rock solid!
Downsides include it being hideous (next steps for me are going to include some sort of painting for it) and weight (I am positive that an aluminum handlebar rack will be lighter and a tubular steel one may be too).
by yofuckreddit
2 Comments
I think just using 2 handlebar extensions set at about 2pm and 4-5pm (looking from right of bike) forming a cradle. Then just voile strap dry bags or whatever to the cradle.
Awesome. I built one out of a 6″ pmc pipe, a rubber block cut in half and some straps that lasted for a 1000 mile trip in the mountains. Worked excellent, wouldn’t consider a retail solution.