
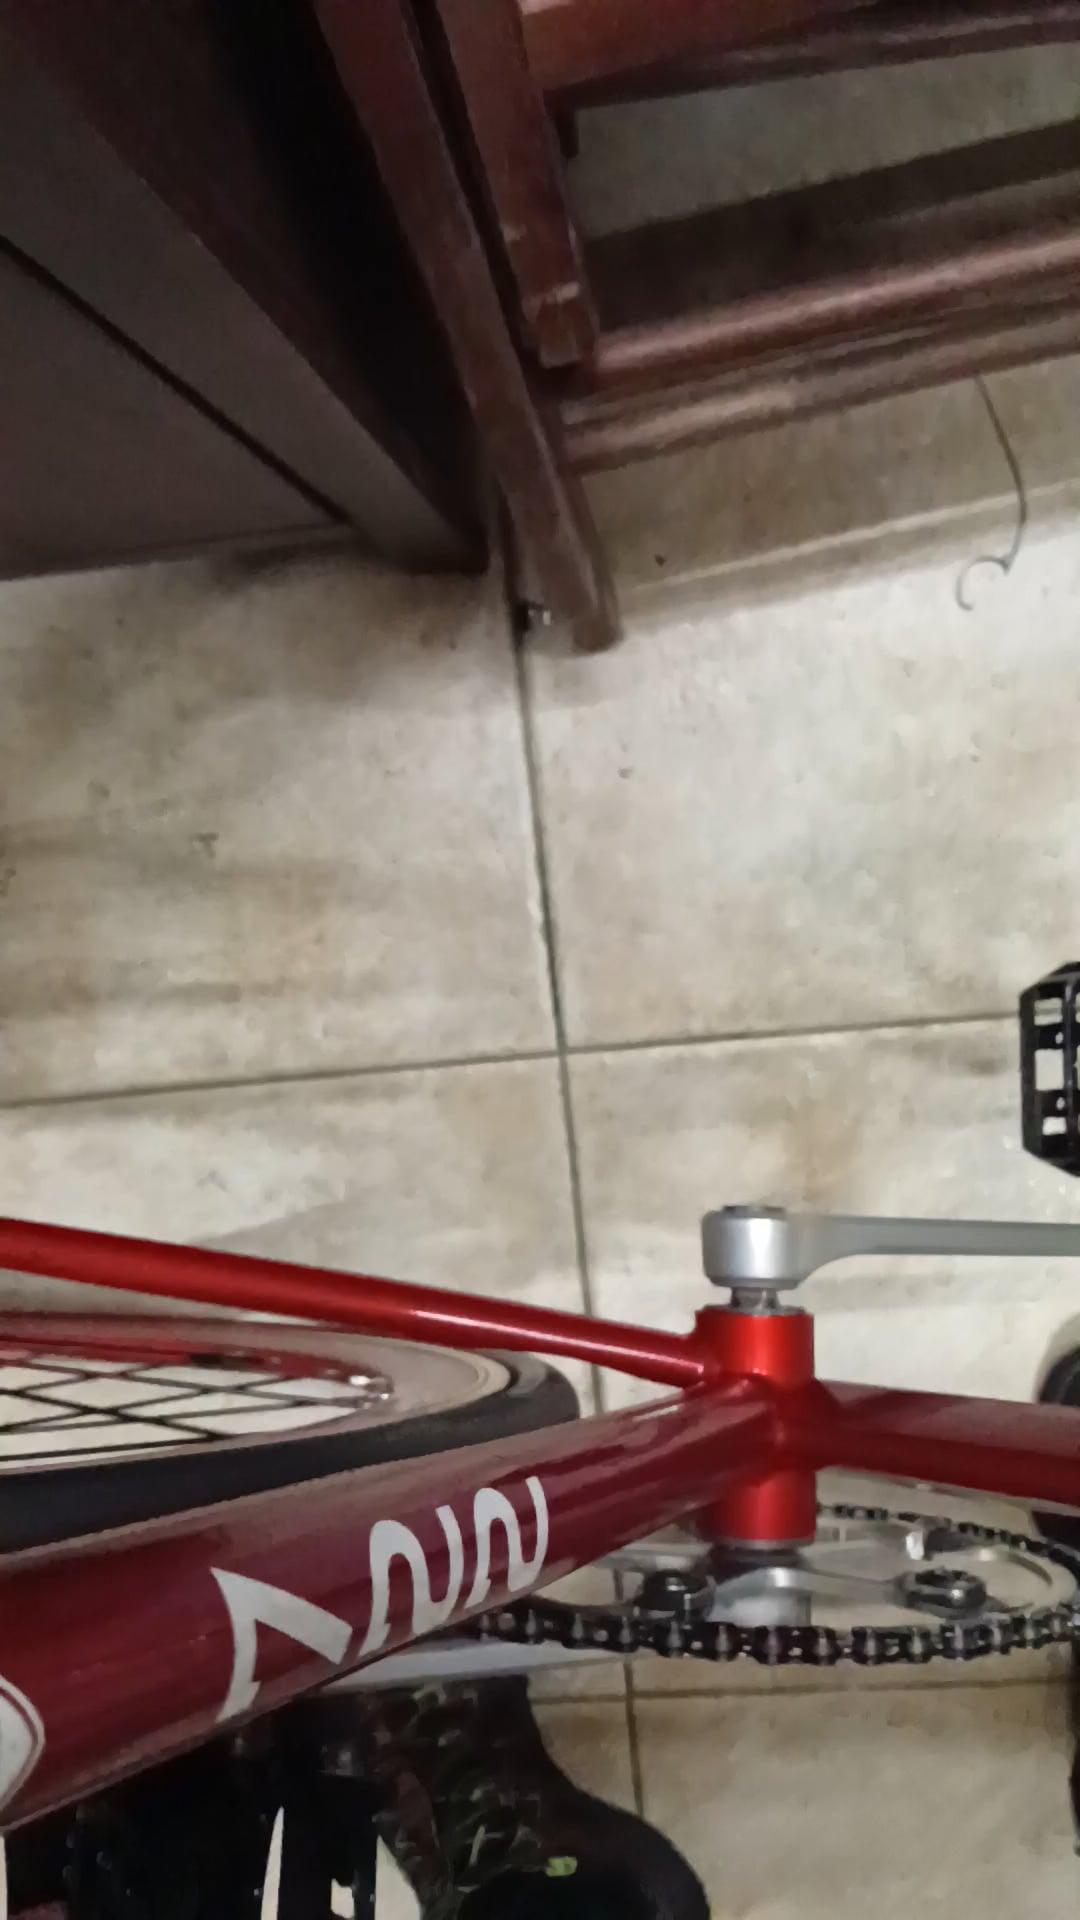
Guys do you have any idea what the reason for this might be? Idk how much it shows in the video but sometimes the chain gets super tensioned and then as soon as I turn the cranks a bit it gets slacky again (on both sides). The only thing that comes to my mind is a not perfectly round crank but I also had this one on my old bike and I never had such problem.
This shit is driving me crazy
byu/Severe_Ad_4966 inFixedGearBicycle
by Severe_Ad_4966
9 Comments
drive train components are not concentric. Pretty normal unless you’re spending on high-end components with better qc on tolerances
Pretty standard. It’s all gonna flex.
Find the tightest spot, set your tension there, ignore the slacker sections.
It’s pretty normal. It means that your chain is properly tensioned.
“Centering chainrings
Once you have adjusted the chain slack, you will probably find that it doesn’t remain constant as you turn the crank. The slack varies because the chainring and sprocket aren’t perfectly centered. If you press the wrench down against the middle of the top run of chain while turning the cranks, you can easily see how the amount of slack varies.
It is usually possible to center the chainring. Set the rear axle so that the chain pulls taut at the tightest part of the cranks’ rotation. One at a time, loosen up each of the stack bolts, and tighten it back just finger tight. Turn the crank slowly and watch for the chain to get to its tightest point. Strike the taut chain lightly with a convenient tool to make the chainring move a bit on its spider. Then rotate the crank some more, finding the new tightest spot, and repeat as necessary.
This takes a little bit of your hands’ learning how hard to hit the chain, and how loose to set the stack bolts, but it is really quite easy to learn.
Tighten up the stack bolts a bit and re-check. Tighten them in a regular pattern, like the lug nuts on a car wheel. Our standard pattern is to start by tightening the bolt opposite the crank, then move clockwise 2 bolts (144 degrees), tighten that one, clockwise 2 more, and so on. Never tighten two neighboring bolts in a row (well, not unless there are only 3 or 4 in all — than you have no choice). You may prefer to go counterclockwise, but try to get in the habit of always starting at the same place and always going the same way. This reduces the chances of accidentally missing a bolt.
Once you have the chainrings centered and secured, adjust the position of the rear axle again to make the chain as nearly tight as possible without binding. Notice how freely the drivetrain turns when the chain is too loose. That is how freely it should turn when you are done, but with as little chain droop as possible.
Some rear sprockets are not well-centered either. You may try to center the sprocket using a similar technique, or you may just have to try another sprocket or put up with the problem. This problem is most common with the 3-lug sprockets used on internal-gear hubs and coaster brakes.”
-Sheldon Brown
#
Also your chain should never be that tight at any point of its rotation. If your chain is that tight it will wear out to teeth of you chainring and cog or freewheel. It will also limit how smoothly your drivetrain spins. If your chain is properly tensioned there should be a slight amount of visible sag on the bottom part of the chain at its tightest spot.
That’s definitely a normal amount of variation. However, my chain got to a crazy amount of variation and it turned out that the crank spider was bent. I replaced the cranks and it was fixed but it took me so long to identify the problem.
Your chainring isn’t centred – may also consider changing your chain ring bolts if they’ve let the chainring slip. torque the chain ring bolts down proper, too.
You need to center your chain ring
Loosen all of the stack bolts then re-tighten them just finger tight
Rotate your cranks up until the top of the chain is at its tightest, and gently whack the chain about halfway between the rear sprocket and the chainring with the back of a screwdriver or something similar
Rotate your cranks to the new spot where the chain is tightest and repeat the above process
Repeat this process until the chain has consistent tension throughout the pedal stroke, then carefully tighten the stack of bolts in a star pattern a little little bit at a time so that you don’t throw the chain ring off center again
It takes a little bit to get used to hard to hit the chain, but it’s not difficult and you’ll be able to get it taken care of in short order
That’s normal it even happens with motorcycles