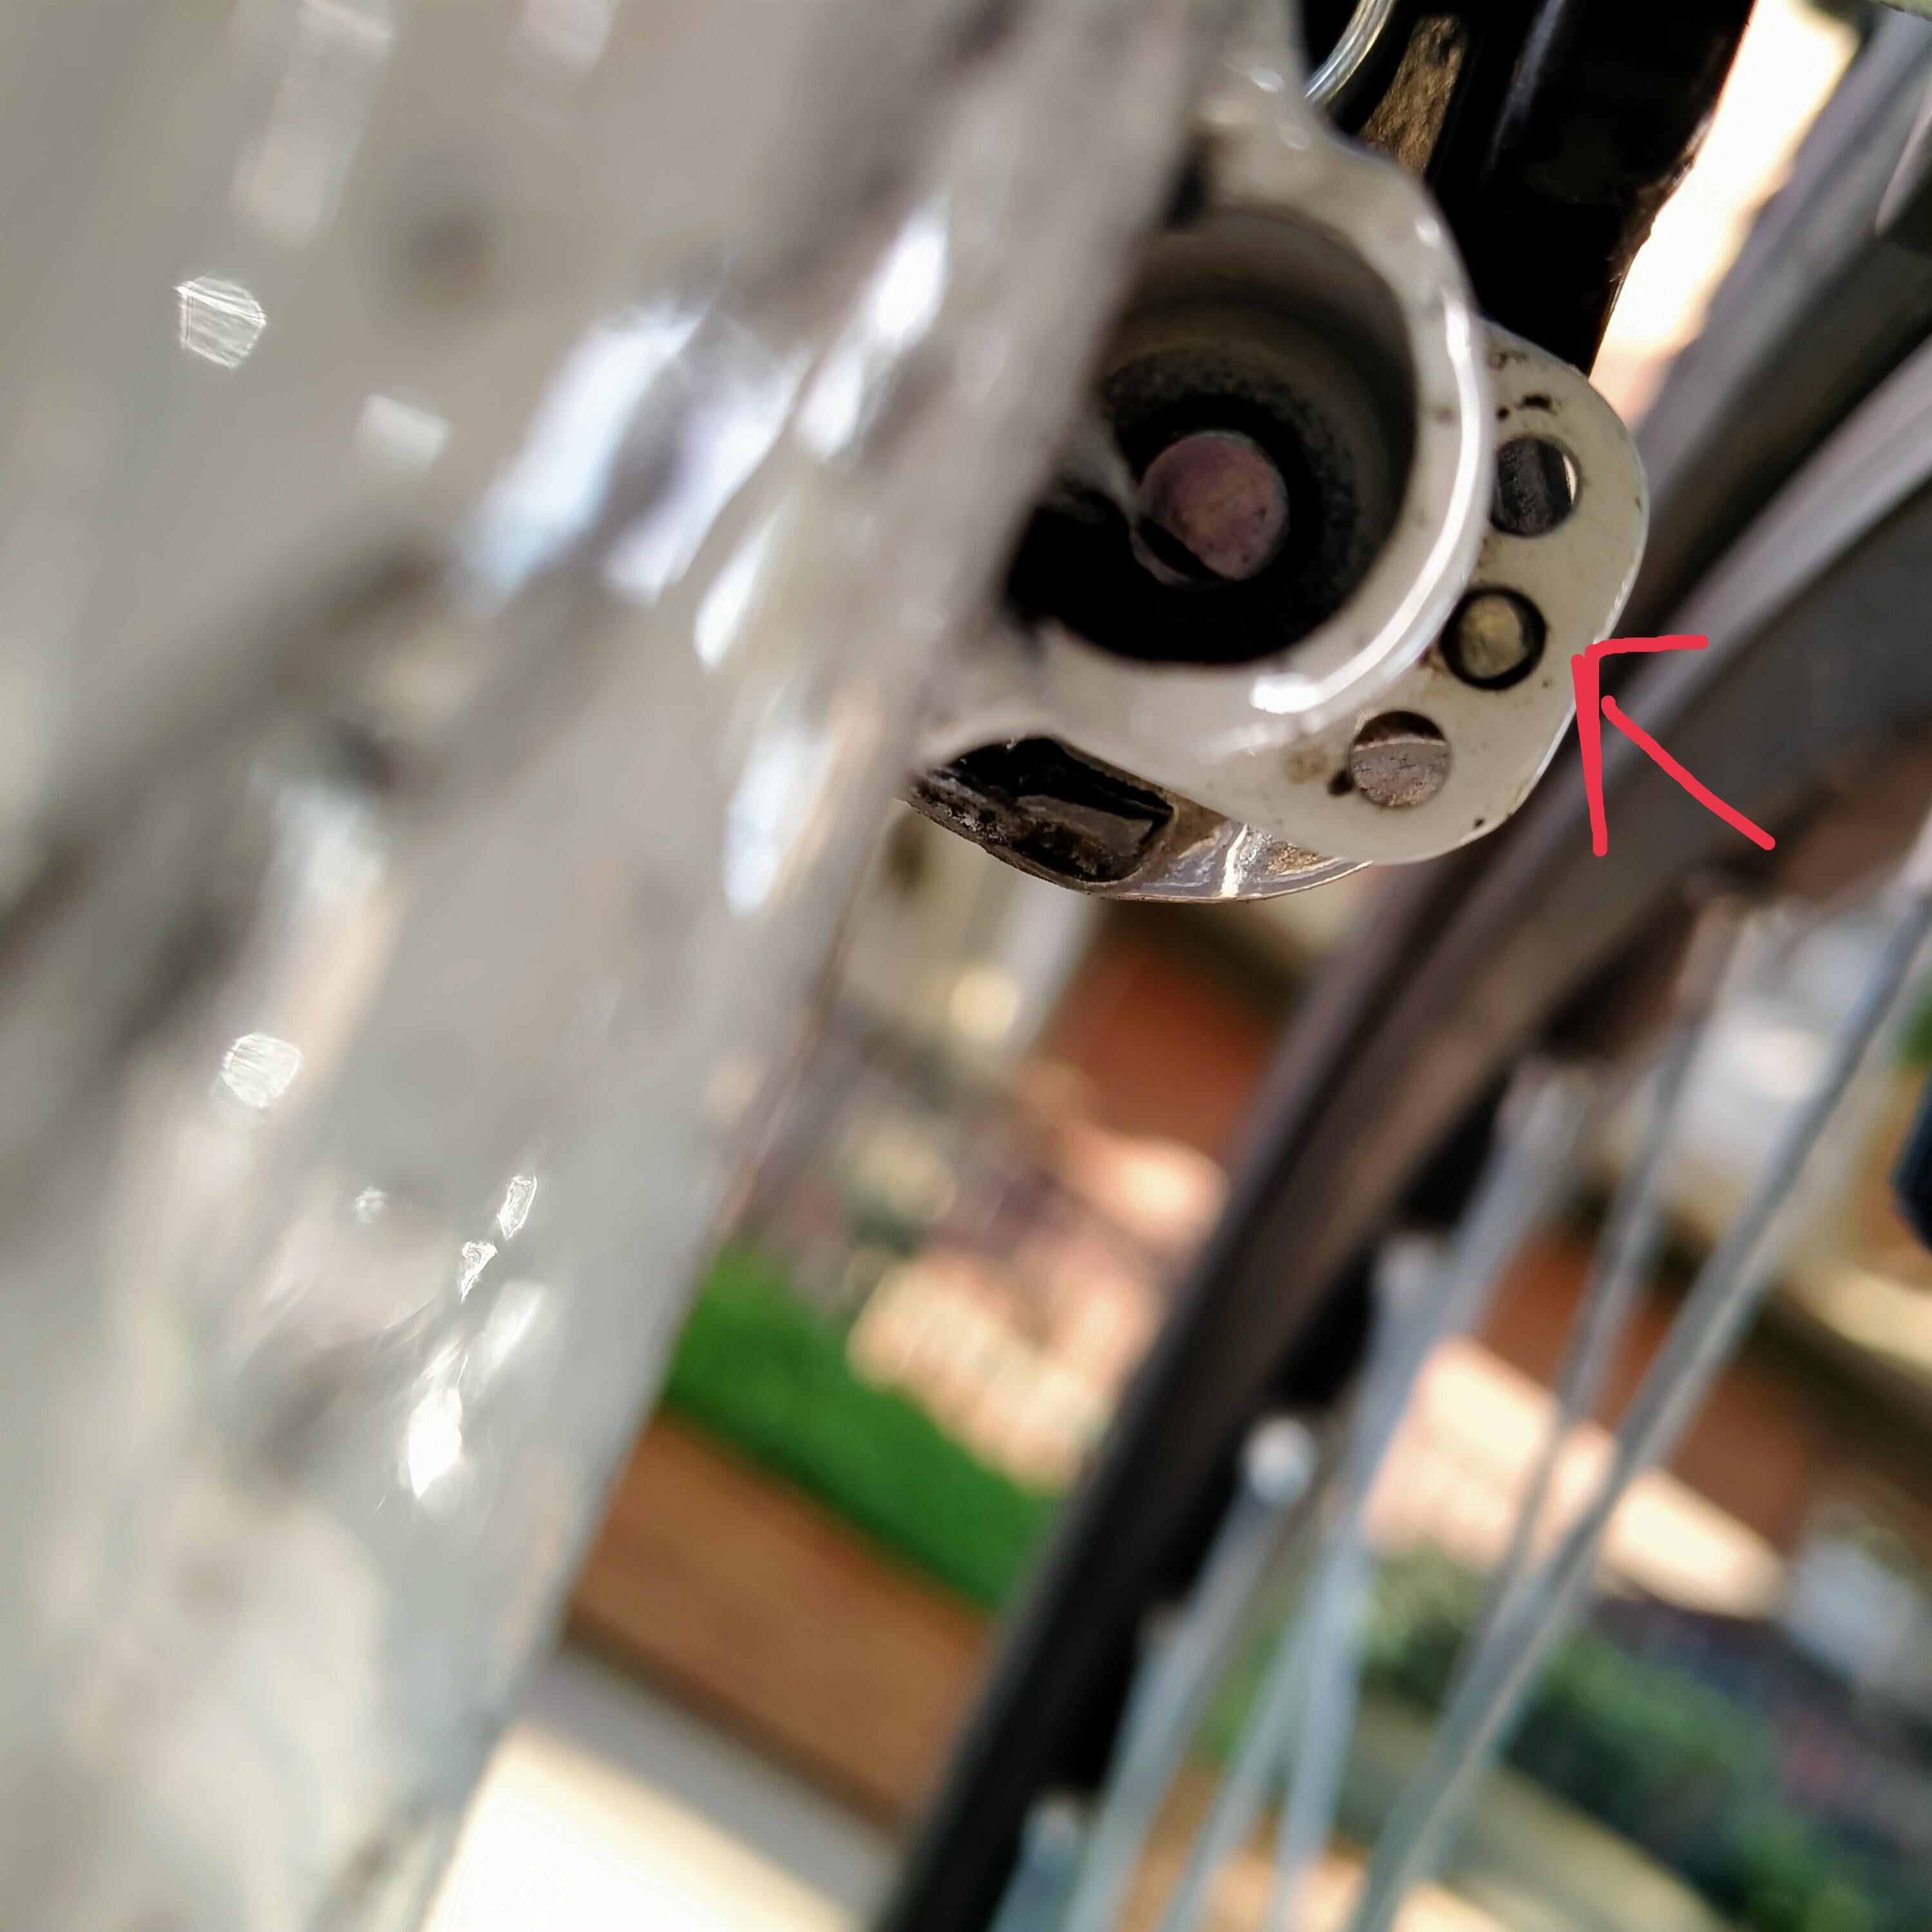
Sets the tension in the spring that returns the v brake arms.
There’s three holes so you can adjust the tension if required.
Middle hole is usually sufficient most of the time.
Working-Promotion728 on
You need to at least partially remove the arm to set the spring in a different hole. That provides an opportunity to clean and lightly grease the posts for smoother brakes anyway. It’s an easy job that requires one tool and takes a few minutes to complete.
The center hole usually works, but sometimes I set the spring in the first hole for the least amount of tension. The more tension you have in that spring, the more force your fingers need to create to actuate the brake. It’s a matter of personal preference, but I like them light. For kids bikes and anyone with smaller hands, light springs are often best.
Nervous-Rush-4465 on
Spring pre-load point.
69cop3rnico42O on
keeps tension in the spring that bring the brake back to the resting position when you’re not braking. you can choose to put it in the different holes to tighten or loosen the spring.
JollyGreenGigantor on
Everybody else has mentioned what these do but I’ll bring up an additional point. Setting the brake arm for stronger return makes the lever harder to pull. It’s normally best to start in the lightest tension hole, then adjust as the spring wears.
You’ll absolutely feel the difference after a long day of pedaling. Some riders will even remove the return spring from their levers since it’s redundant with the brake caliper return spring.
hairy6ft on
This is needed only when you can’t balance the springs with the tension adjustment screws.
As always, park tool has a video on adjusting v brakes.
enjoyingthevibe on
The spring sits in these holes, you can adjust the tension on the spring and therefore the effect it has on the caliper by moving the spring around.
99.9% of the time I say leave where they are. find the problem else where

7 Comments
Sets the tension in the spring that returns the v brake arms.
There’s three holes so you can adjust the tension if required.
Middle hole is usually sufficient most of the time.
You need to at least partially remove the arm to set the spring in a different hole. That provides an opportunity to clean and lightly grease the posts for smoother brakes anyway. It’s an easy job that requires one tool and takes a few minutes to complete.
The center hole usually works, but sometimes I set the spring in the first hole for the least amount of tension. The more tension you have in that spring, the more force your fingers need to create to actuate the brake. It’s a matter of personal preference, but I like them light. For kids bikes and anyone with smaller hands, light springs are often best.
Spring pre-load point.
keeps tension in the spring that bring the brake back to the resting position when you’re not braking. you can choose to put it in the different holes to tighten or loosen the spring.
Everybody else has mentioned what these do but I’ll bring up an additional point. Setting the brake arm for stronger return makes the lever harder to pull. It’s normally best to start in the lightest tension hole, then adjust as the spring wears.
You’ll absolutely feel the difference after a long day of pedaling. Some riders will even remove the return spring from their levers since it’s redundant with the brake caliper return spring.
This is needed only when you can’t balance the springs with the tension adjustment screws.
As always, park tool has a video on adjusting v brakes.
The spring sits in these holes, you can adjust the tension on the spring and therefore the effect it has on the caliper by moving the spring around.
99.9% of the time I say leave where they are. find the problem else where