
Hi Bike Wrenchers!
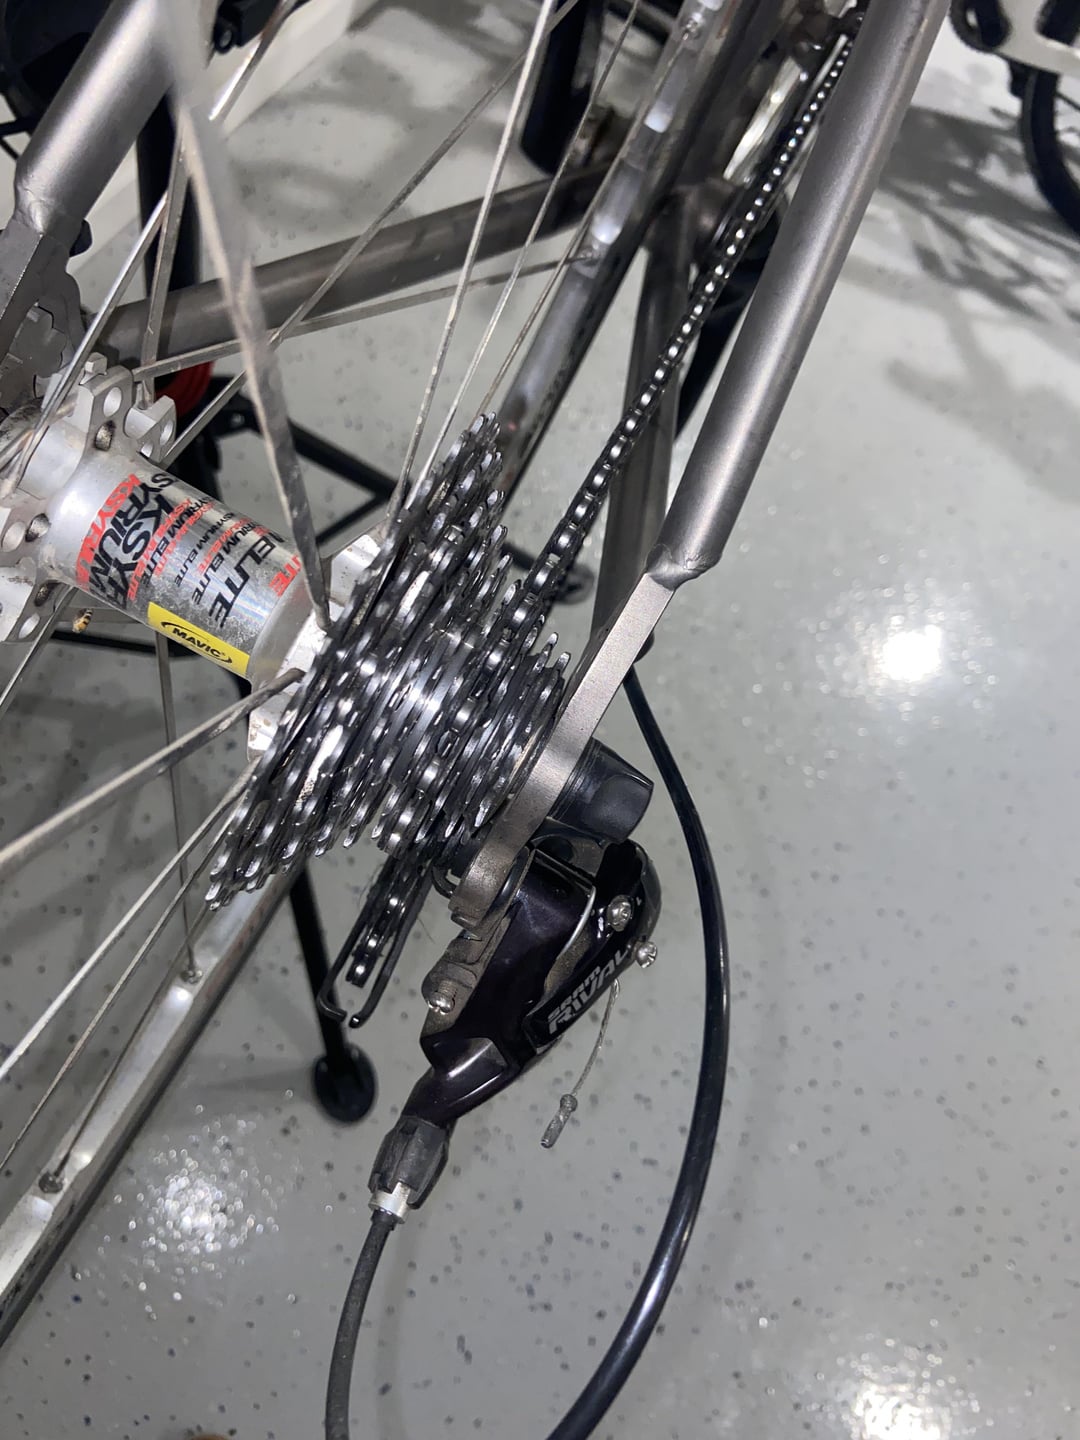
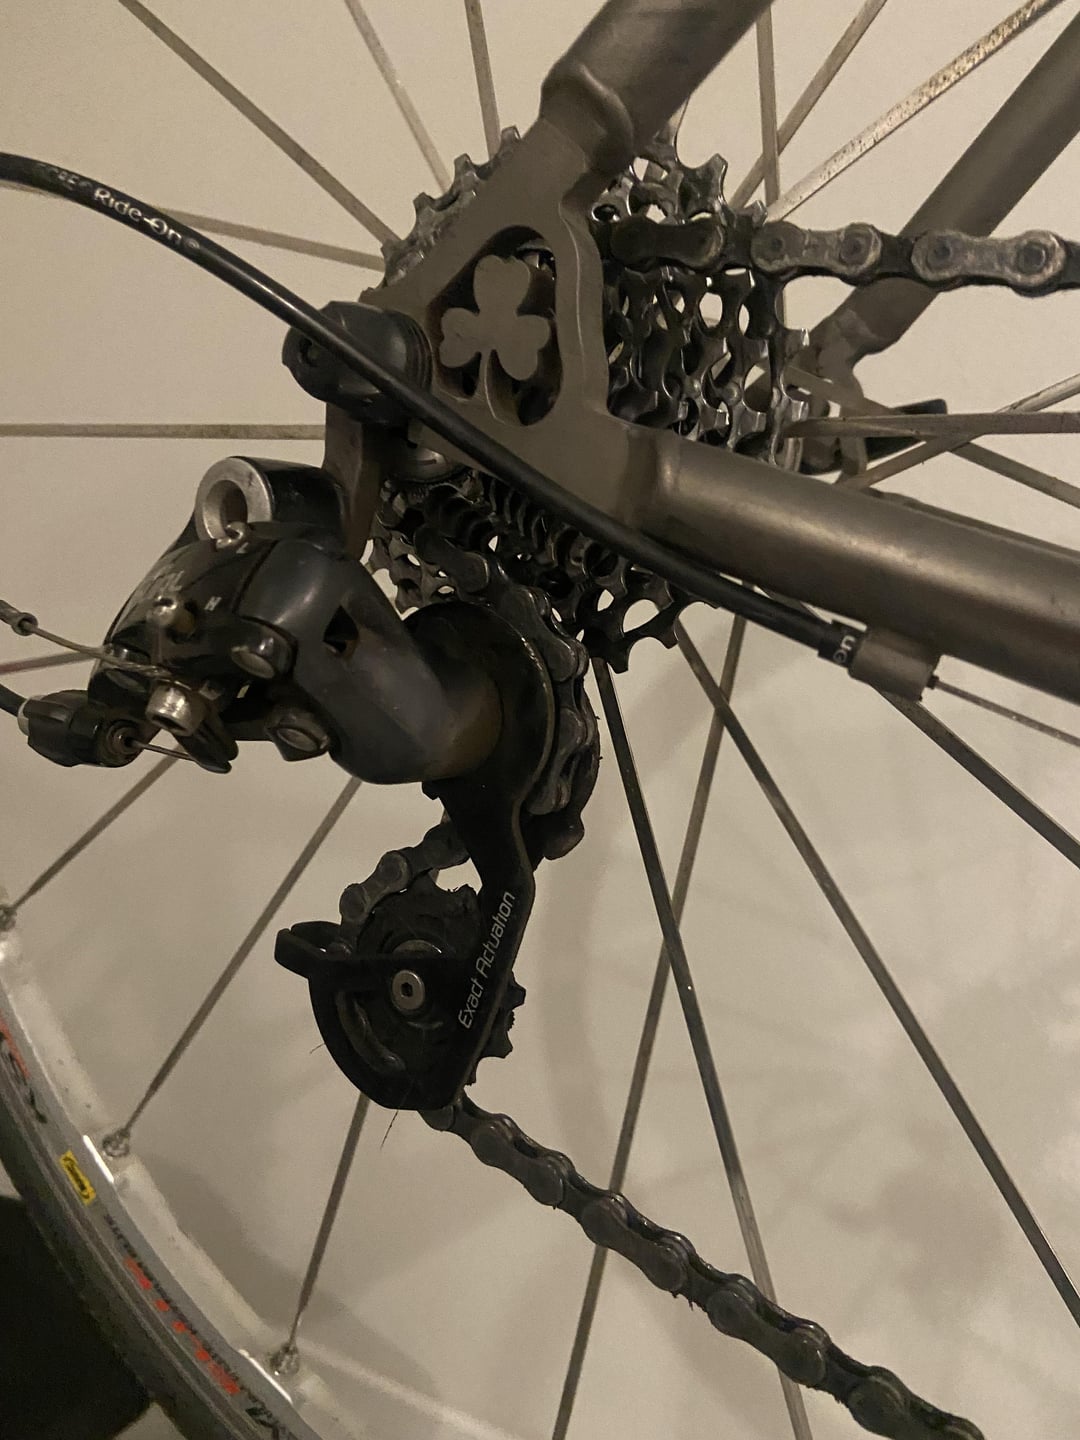
My older bike (2013ish Lynsky with almost 20,000miles) needs a new set of wheels. The rim’s brake surface has a lot of wear, the wheels have gone out of true, and the spoke nipples are falling apart due to corrosion.
Instead of just buying a new set of wheels, I want to try building them myself. I bought some tools and read “The Bicycle Wheel”, but I don’t know what combination of spokes, nipples, rims, hubs would be appropriate for this bike. The book seems a little dated and doesn’t align well with what parts I see on sites like jensonusa.com.
Could I get some suggestions for where/what wheel components would be appropriate? I want to lean towards the cheaper end of the spectrum since I’ll probably botch it and need to try again.
by TheDoughyRider
8 Comments
https://www.sheldonbrown.com/wheelbuild.html
This is your best start into wheel building.
The book is still very relevant to the theory of building wheels. Sheldon Brown’s site has a few good articles on wheel building as well.
Having taught wheel building in a few community shops the Jobst Brandt method is the easiest to learn and catch mistakes early in the process. I personally prefer the DT method for speed of assembly in a shop setting but I’ve been building wheels for nearly a decade now.
Calculating spoke length will be the last thing you do based on your hubs and rim combination. I personally like working with Shimano or DT hubs depending on your budget. Rim wise DT and Velocity are the main brands that continue to support quality rim brake options.
For this bike I’d say you’d be more than fine with some 28H hubs and rims – could go 24 front but there’s something nice about keeping spoke count the same for your first few wheel builds.
If you have a favourite LBS you can probably have them check your wheels for you – I’ve got a few regulars who like to build wheels but get me to do the final tension check and balancing since I can do that much quicker than they can simply based on practice and the tooling I’ve got in the shop that they don’t want to buy for their usage once every few years.
ETA: Sapim Hex or DT Squarx nipples are much nicer to work with. Get brads nipples with what ever you end up doing, corrosion and fatigue on alloy nipples isn’t worth the weight savings they get you.
Bikehubstore.com is where I’ve bought most parts for my last few builds. The owner is pretty knowledgeable and will help you if you email him.
Basically choose a hub and a rim that fit your purposes and budget, then use a spoke calculator to figure out spoke length for your chosen lacing, choose what spokes and nipples you want, and buy them.
It got me started and based on it I’ve built road, cyclocross mtb XC and downhill wheelsets for my daughter.
Rim: For minimal thought, measure the inner and outer diameter of the rim and get something similar with the same diameter (700c presumably) and spoke hole count. Now is a good time to identify if you’d prefer a wider rim profile. Measure how much tire clearance you currently have in mm and compare it to a 4mm clearance minimum. If you have a little room, get a rim with a slightly wider ID.
Spokes: 2mm straight gauge spokes are cheapest. If you ride a lot, I’d recommend double butted spokes for a little bit of weight savings and a slightly better ride quality more noticeable on skinny tires. Sapim Race or DT Swiss Competition spokes are comparable 2mm/1.8mm/2mm double butted spokes that are pretty good all rounders regardless of weight limit. I think they are worth the money. Silver is cheaper, black is more expensive, and both achieve different aesthetics.
Nipples: brass for durability and low cost, aluminum for fun colors, and small weight savings. I suggest brass since you put in serious miles.
Here’s a copypasta I send to people interested in building their first wheel. You can see what it takes and decide which path to take.
Your cheapest spoke options are probably silver Sapim Leader spokes, a simple 2mm straight gauge spoke that’s plenty strong. They can be purchased individually, in packs of 20, or bulk 100 count boxes. Butted spokes are a little more expensive or a little nicer, but not necessary for a first build.
I’ll leave resources for you and anyone who wants to build their first wheel.
You’ll need:
– Spoke wrench
– Caliper to measure
– Zip tie to use frame as trueing stand, or the real thing.
– 12mm brass nipples
– Grease, a light oil, or spoke prep
– Small flathead screwdriver
– [DIY dishing tool](https://youtu.be/DaWZ_uoE9TY?si=pofL9HZ6nyUTMnkA)
– Spokes. Look at the hub, if the spoke heads are facing sideways J BEND spokes are used. If the heads are straight like a nail, STRAIGHT PULL spokes are used. You need an EXACT LENGTH within 1-2mm. A few hub measurements and the rim’s [ERD](https://www.parktool.com/en-us/blog/calvins-corner/measuring-effective-rim-diameter) need to be obtained. Enter these into a [spoke calculator](https://spokes-calculator.dtswiss.com/en/) to estimate spoke length for either side of the wheel.
[Park Tool: How to Build a Wheel](https://youtu.be/X5gs00ttvdg?si=gZ-tUUPbNpfR3hZo)
[Calculating spoke length](https://youtu.be/kSFmvV3J99c?si=5HqUkkYuVENHA-WW)
[Part 1 of 4](https://youtu.be/MFOng1UXn-g?si=B6XMrEqMzXY-BFxQ)
[Handy dandy wheel trueing app](https://www.parktool.com/wta)
You decide the lacing patterns when calculating length. [3 cross](https://bicycles.stackexchange.com/questions/76604/3-cross-pattern-whats-the-right-way) is a common lacing pattern for mountain bike wheels with 28 spokes or greater. 2 cross is common for road bike wheels with up to 24 spokes.
Goal is to get spoke tension even within 10%, 0.5mm radial true (how round the wheel is), 1mm lateral true (side-to-side), and 1mm dish (side-to-side alignment of rim to the hub or to the fork/dropouts). You can get things more even than that if you wish, but thats the bare minimum. The disc brake side or cassette side will often have tighter spokes than the opposite side. The RIM will have a tension range to shoot for, which refers to the TIGHT side of the rim only. The other side doesn’t have a specific range, just get the tension even.
Once you are “done”, [stress relieve](https://wheelfanatyk.com/blogs/blog/side-stressing-for-building) the wheels through various methods, or ride them a few times. They might go slightly out of true or lose a little tension. If so, go back, fine tune the tension/true one last time. You should be done!
You should practise on a wheel you don’t intend to ride.
I built all the wheels on my last two bikes. I ended up taco”ing one of my first rims (make sure you tighten or loosen slowly around the rim rather then in once place all at once, otherwise you’ll make a taco like I did). All of them turned out great. One of my friends keeps breaking spokes on his store bought rim and I have yet to replace a spoke or re true any of them (could be luck, but I think a hand made wheel with a little love can be stronger). Don’t trust the ERD in any website. You have to measure it first. Every erd I’ve ever measured has been slightly different than the website.